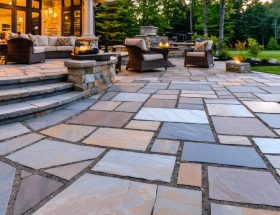
Transform your interior space with the timeless elegance of stone walls, a project that combines rustic charm with modern sophistication. Installing natural stone walls creates a striking focal point while providing superior insulation properties, potentially reducing energy costs by up to 30%. Modern engineered stone panels and innovative mounting systems have revolutionized this once-complex project into an achievable weekend DIY endeavor, even for homeowners with basic handyman skills.
Whether you choose rugged slate, classic limestone, or contemporary manufactured stone veneer, the transformation delivers both aesthetic appeal and practical benefits. The key lies in proper preparation – from selecting moisture-resistant backing boards to calculating load-bearing requirements. Today’s stone installation systems offer straightforward solutions that combine traditional craftsmanship with modern materials, ensuring lasting results that can increase your home’s value while creating an authentic, organic ambiance that synthetic alternatives simply cannot match.
Understanding Stone’s Natural Insulation Properties
Thermal Mass Benefits
Stone walls serve as exceptional thermal regulators in your home, acting as natural temperature controllers that can help reduce energy costs and increase your home’s value. The high thermal mass of stone allows it to absorb heat during warmer periods and gradually release it when temperatures drop, creating a more stable indoor environment.
During summer days, stone walls absorb excess heat from your living space, helping keep interiors cooler. As evening approaches and temperatures fall, this stored heat is slowly released back into the room. In winter, the process works similarly – the stone captures warmth from your heating system or sunlight during the day and radiates it throughout the night, reducing heating costs.
This natural heat-regulation cycle makes stone walls particularly effective in climates with significant temperature fluctuations between day and night. The thermal mass effect can help decrease temperature swings by 6-8 degrees Fahrenheit, leading to more consistent comfort levels and potentially lower energy bills throughout the year.
R-Value and Energy Efficiency
Natural stone walls contribute uniquely to a home’s thermal performance, though their R-value (thermal resistance) varies depending on the type and thickness of stone used. Most natural stone materials have R-values ranging from 0.05 to 0.15 per inch thickness. While these values might seem low compared to conventional insulation materials, stone walls offer distinct thermal mass benefits.
The high thermal mass of stone allows it to absorb and store heat during warm periods and release it slowly when temperatures drop. This property helps regulate indoor temperature fluctuations, potentially reducing heating and cooling costs. For example, a 4-inch thick limestone interior wall can store significant thermal energy, creating a natural temperature-buffering effect.
To maximize energy efficiency, consider combining your stone wall with proper insulation backing. Modern stone veneer installations often incorporate an air gap and insulation layer behind the stone, creating a more effective thermal barrier. This combination approach allows you to enjoy both the aesthetic appeal of natural stone and improved energy performance, particularly in climate zones with significant temperature variations.
Planning Your DIY Stone Wall Project
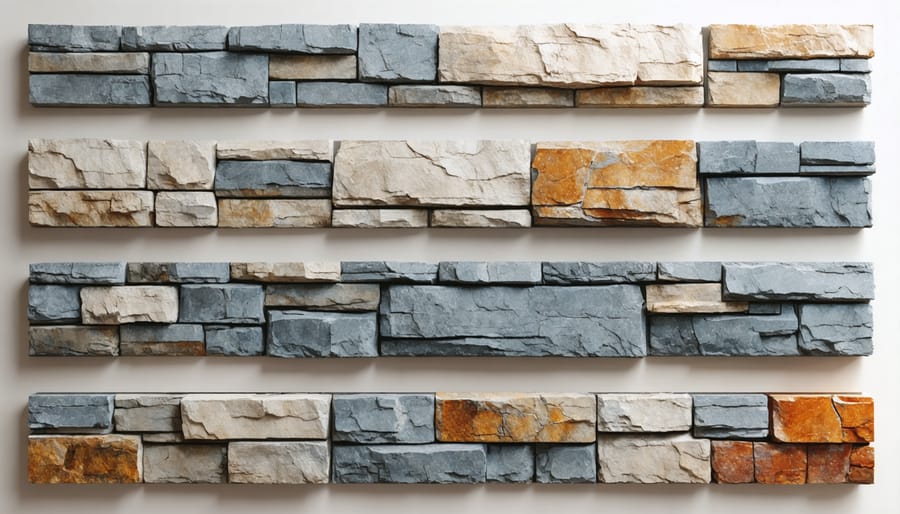
Choosing the Right Stone Type
Selecting the right stone for your interior wall project is crucial for both aesthetic appeal and practical functionality. Natural stone options include limestone, slate, marble, and granite, while stone veneer options provide a lighter, more budget-friendly alternative.
Consider three key factors when choosing your stone: weight capacity, maintenance requirements, and installation complexity. Natural stone requires substantial structural support and professional installation, while manufactured stone veneer can be installed as a DIY project with proper preparation.
For high-moisture areas like bathrooms, opt for dense, non-porous stones such as granite or sealed slate. In living spaces, softer stones like limestone create a warm, inviting atmosphere. The stone’s color and texture should complement your existing décor while meeting practical needs.
Size and pattern also matter – larger stones create bold statements but require more precise cutting, while smaller stones offer more flexibility during installation. Consider the room’s lighting, as darker stones may absorb light while lighter varieties can brighten the space.
Tools and Materials Needed
For your DIY stone interior wall project, you’ll need the following tools and materials:
Essential Tools:
– Level (4-foot and laser)
– Trowels (notched and flat)
– Mixing bucket and paddle
– Safety gear (goggles, gloves, dust mask)
– Measuring tape and pencil
– Hammer and chisel
– Wet saw or angle grinder with diamond blade
– Rubber mallet
– Grout float
– Sponges and clean rags
Required Materials:
– Natural stone or manufactured stone veneer
– Moisture barrier/vapor shield
– Metal lath
– Galvanized roofing nails
– Mortar mix (type S or N)
– Concrete bonding agent
– Masonry sealer
– Grout (if required)
– Expansion joints
– Corner pieces (if needed)
– Cleaning solution
Optional but Recommended:
– Scaffolding or sturdy ladder
– Wheelbarrow for mixing
– Drop cloths
– Wire brush
– Chalk line
– Joint tool for finishing
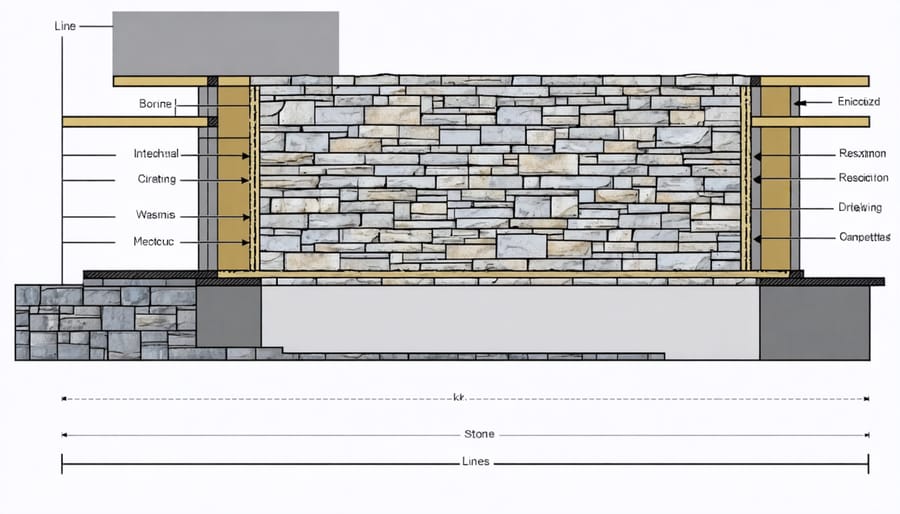
Wall Preparation Requirements
Before installing stone veneer, proper wall preparation is crucial for long-term success. Start by inspecting your existing wall for damage, cracks, or moisture issues. Repair any structural problems and ensure the wall is completely dry. Remove all wallpaper, paint, or loose material until you reach a solid substrate.
Install a vapor barrier by applying 15-pound builder’s felt or similar moisture barrier, overlapping each sheet by at least 2 inches. Next, attach metal lath using galvanized nails or screws every 6 inches, ensuring it’s fastened securely to wall studs. The lath should feel rough when you run your hand upward and smooth downward.
Apply a scratch coat of mortar approximately 1/2 inch thick over the metal lath, creating horizontal grooves with a notched trowel. Let this base coat cure for at least 24 hours before beginning stone installation. The surface should be rigid and stable but not completely dry when you start laying stones.
Installation Process
Creating the Base Layer
Creating a proper base layer is crucial for the stability and longevity of your interior stone wall. Begin by installing a moisture barrier against your existing wall to prevent any potential water damage. Use 6-mil polyethylene sheeting, overlapping seams by at least 6 inches and securing it with construction staples.
Next, install a metal lath over the moisture barrier. Choose a galvanized diamond mesh lath with a minimum weight of 2.5 pounds per square yard. Attach it using galvanized roofing nails every 6 inches along the studs, ensuring the rough side faces outward. Overlap the lath pieces by at least 1 inch at the seams.
Apply a scratch coat of mortar approximately ½ inch thick over the metal lath using a trowel. Score horizontal lines across the surface while it’s still wet to create a better bonding surface for the stone. This scratch coat should be mixed according to manufacturer specifications, typically using Type S mortar.
Allow the scratch coat to cure for at least 24 hours, keeping it slightly damp during this time to prevent cracking. The surface should feel firm and stable before proceeding with stone installation. Test the stability by pressing firmly against various areas – there should be no movement or hollow sounds.
Remember to keep the scratch coat level and plumb, as any irregularities will affect the final appearance of your stone wall.
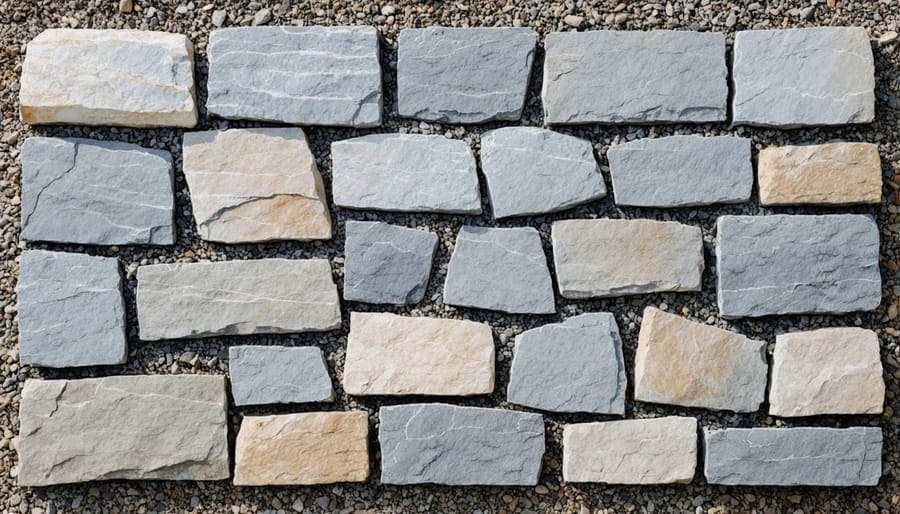
Stone Laying Techniques
Begin by creating a level base using a mortar bed mixed to a workable consistency. Apply the mortar to the wall surface using a notched trowel, working in manageable sections of about 3-4 square feet at a time. When placing stones, start from the bottom corners and work your way up, maintaining level courses for a professional appearance.
Select each stone carefully, considering its shape and size to ensure proper fit. Apply mortar to the back of each stone before pressing it firmly against the wall. Use spacers to maintain consistent gaps between stones, typically 1/2 inch to 1 inch wide. Wiggle each stone slightly to create proper adhesion and remove any excess mortar immediately.
For challenging areas around outlets or corners, cut stones as needed using a wet saw or angle grinder with a diamond blade. Always wear appropriate safety gear during cutting. When working with irregular stones, occasionally step back to assess the overall pattern and make adjustments for visual balance.
Support heavier stones with temporary braces until the mortar sets. After placing several courses, check for level and plumb using a spirit level. Clean stone faces as you work to prevent mortar from hardening on visible surfaces. Once all stones are in place, allow the mortar to cure for 24-48 hours before grouting the joints.
For grouting, use a mortar bag to fill joints completely, ensuring no voids remain. Tool the joints when partially set for a clean, professional finish. Remove any excess grout immediately using a damp sponge to avoid staining the stone surfaces.
Grouting and Finishing
After all stones are securely in place, prepare your grout mixture according to the manufacturer’s instructions. Using a grout float, apply the mixture diagonally across the joints, ensuring complete coverage between stones. Work in small sections of about 3-4 square feet at a time to prevent premature drying. Push the grout deeply into the joints, making sure there are no gaps or voids.
Wait approximately 15-20 minutes for the grout to begin setting, then use a damp sponge to clean excess grout from the stone surfaces. Make smooth, diagonal passes across the wall, rinsing your sponge frequently in clean water. Be careful not to remove too much grout from the joints during this process.
Once the grout has fully cured (typically 24-48 hours), apply a high-quality stone sealer to protect both the stone and grout from moisture and staining. Using a foam brush or roller, apply the sealer evenly across the entire wall surface, following the manufacturer’s recommended number of coats. Allow each coat to dry completely before applying the next. This final step ensures your stone wall remains beautiful and durable for years to come.
Maintenance and Care
Regular Cleaning Methods
Regular cleaning of your interior stone wall is essential to maintain stone surfaces and preserve their natural beauty. Start with gentle dusting using a soft-bristled brush or microfiber cloth to remove loose dirt and debris. For routine cleaning, mix a pH-neutral stone cleaner with warm water according to the manufacturer’s instructions. Avoid acidic cleaners or vinegar solutions, as these can damage the stone’s surface.
Apply the cleaning solution using a soft cloth or sponge, working in small sections from bottom to top to prevent streaking. Rinse thoroughly with clean water and dry immediately with a lint-free cloth to prevent water spots. For tougher stains, use a specialized stone poultice designed for your specific stone type.
Never use abrasive scrubbers, steel wool, or harsh chemical cleaners, as these can scratch or etch the stone surface. Additionally, clean spills immediately to prevent staining, and consider applying a stone sealer annually to protect against moisture and stains.
Long-term Preservation
To maintain your stone interior wall’s insulation effectiveness over the long term, implement a regular maintenance schedule. Start by inspecting the mortar joints every six months for signs of cracking or deterioration. Address any gaps promptly with appropriate mortar repair to prevent heat loss and moisture penetration.
Keep the stone surface clean using a soft brush and mild stone cleaner to prevent buildup that could affect the wall’s thermal properties. Avoid harsh chemicals that might damage the stone or grout. Pay special attention to areas near heating vents or windows where temperature fluctuations are common.
Apply a high-quality stone sealer every 2-3 years to protect against moisture infiltration, which can compromise insulation performance. Ensure proper ventilation in the room to prevent condensation from forming on the stone surface, as excess moisture can reduce insulative properties over time.
Monitor the area where the stone wall meets the floor and ceiling, as these junction points are common areas for heat loss. Use appropriate weatherstripping or caulking when necessary to maintain an effective thermal barrier. Regular maintenance will help preserve both the aesthetic appeal and insulation benefits of your stone wall.
Creating a DIY stone interior wall is more than just a home improvement project – it’s an investment in your home’s character and value. By following the guidelines and steps outlined in this article, you can successfully transform any room with the timeless beauty of natural stone. Not only does a stone wall add dramatic visual interest, but it also provides practical benefits like improved insulation and sound dampening.
Remember that while this project requires careful planning and attention to detail, the results are well worth the effort. The durability of stone means your creation will last for generations, becoming a striking focal point that adds both charm and sophistication to your living space. Whether you’ve chosen rustic fieldstone, sleek slate, or classic limestone, your DIY stone wall will create an authentic, organic atmosphere that can’t be replicated with artificial materials.
Before beginning your project, ensure you have all necessary materials, tools, and safety equipment on hand. Take time to properly prepare your wall surface and carefully plan your stone layout. While the installation process may take several days, the satisfaction of creating something beautiful with your own hands is unmatched.
Don’t be intimidated by the scope of the project – with proper preparation and patience, even novice DIYers can achieve professional-looking results. Start your stone wall journey today and join countless others who have successfully brought the natural beauty of stone into their homes.