Transform ordinary quartz surfaces into a mirror-like finish with precision-engineered quartz polishing pads. These specialized tools, featuring diamond-impregnated resin compounds, systematically refine stone surfaces through progressive grit sequences. Professional fabricators and skilled DIY enthusiasts rely on these essential instruments to achieve optimal surface clarity, depth, and durability in quartz countertops, walls, and decorative elements. From aggressive metal-bond pads for initial stock removal to ultra-fine resin pads for final buffing, each pad type serves a specific purpose in the stone finishing process. Understanding the relationship between pad composition, pressure application, and surface requirements ensures consistent, professional-grade results while maximizing tool lifespan and efficiency.
Understanding Quartz Polishing Pad Basics
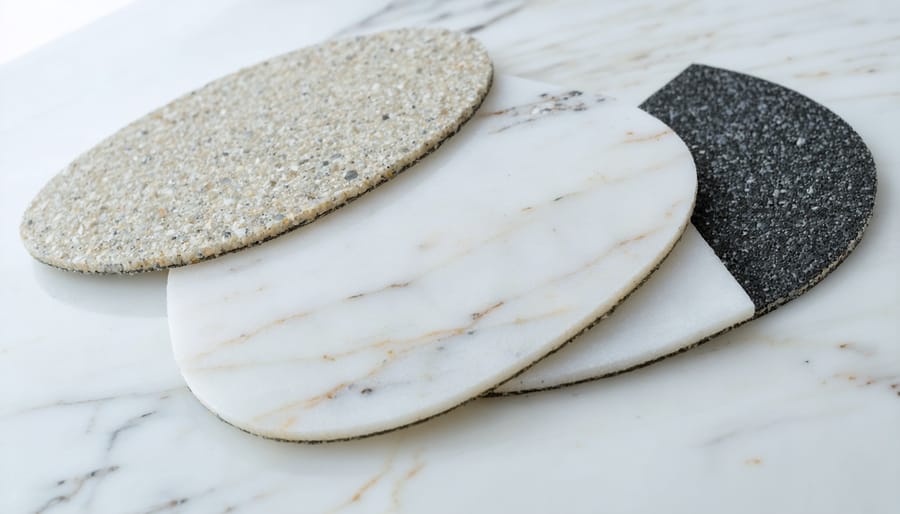
Types of Polishing Pads
Quartz polishing pads come in three main varieties, each designed for specific stages of the polishing process. Resin-bonded pads feature diamond abrasives embedded in a flexible resin matrix, making them ideal for final polishing and achieving a high-gloss finish. These pads work well on flat surfaces and are less aggressive than their metal counterparts.
Metal-bonded pads utilize industrial diamonds secured in a metal matrix, offering superior durability and aggressive cutting power. These pads excel at initial grinding and removing deep scratches or rough surfaces. They’re particularly effective for heavy-duty applications but require experienced handling to prevent surface damage.
Hybrid pads combine the benefits of both resin and metal bonds, providing a versatile solution for multiple polishing stages. These pads offer balanced performance, with enough cutting power for material removal while maintaining the flexibility needed for smoother finishing. They’re especially useful for maintenance work and medium-intensity polishing tasks.
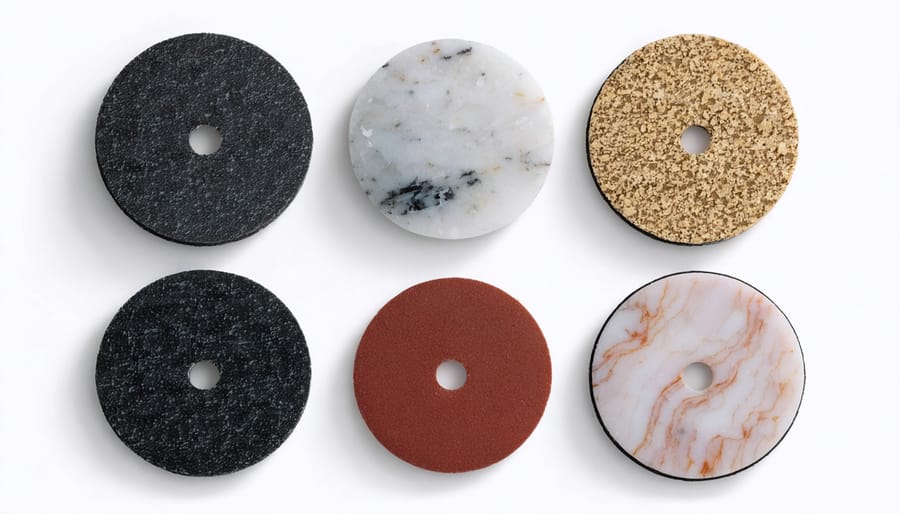
Each pad type is available in various grit levels, typically ranging from 50 to 3000 grit, allowing for progressive refinement of the quartz surface from rough grinding to mirror-like finishing.
Grit Progression Explained
Quartz polishing pads typically follow a progressive grit sequence, starting with coarse grits and moving to finer ones for optimal results. The process usually begins with 50 or 100 grit pads, which are aggressive enough to remove deep scratches and level uneven surfaces. Moving to 200 and 400 grit pads helps refine the surface while eliminating scratches from previous steps.
The middle range, including 800 and 1500 grit pads, starts developing the initial shine while continuing to smooth the surface. The 2000 and 3000 grit levels are crucial for achieving a high-gloss finish, with each step building upon the previous one’s results. For ultimate shine, many professionals finish with 5000 or higher grit pads.
Each progression must be completed thoroughly before moving to the next level. Skipping grits can leave visible scratches and compromise the final finish. While some projects might not require all steps, following the complete sequence ensures professional-grade results. For maintenance work, starting with medium grits (800-1500) is often sufficient, saving time while still achieving excellent results.
Selecting the Right Polishing Pad
Surface Condition Assessment
Before selecting polishing pads for your quartz surface, a thorough assessment of the material’s current condition is essential. When working with quartz surfaces, start by examining the surface under good lighting, preferably with a handheld light at a 45-degree angle to identify scratches, etches, and wear patterns.
Run your hand across the surface to feel for any irregularities. Light scratches will feel slightly rough, while deeper damage may have noticeable grooves. Note the severity and extent of damage, as this will determine your starting grit level.
Consider these key factors during assessment:
– Surface gloss level (matte, honed, or high-polish finish)
– Depth and pattern of scratches
– Presence of etching from acidic substances
– Overall wear patterns in high-traffic areas
– Edge condition and consistency
For minor surface dulling, start with fine-grit pads (800-1500). Medium scratches require medium-grit pads (400-800), while deep scratches or significant damage need coarse-grit pads (50-400) initially. Always test your chosen pad in an inconspicuous area first to ensure it achieves the desired results without causing additional damage.
Remember that different quartz brands may have varying hardness levels and composition, which can affect polishing pad selection and pressure requirements.
Project-Specific Requirements
Selecting the right polishing pad for your quartz project is crucial for achieving the desired finish. For a high-gloss finish on countertops or decorative surfaces, start with a 50-grit pad to remove any significant imperfections, then progress through 100, 200, 400, and finally 800-grit pads. This systematic approach ensures optimal results and prevents surface damage.
For routine maintenance and light polishing, medium-grit pads (200-400) are typically sufficient. These pads effectively restore shine without removing excessive material. When working on vertical surfaces or edges, opt for pads with enhanced grip properties to maintain consistent contact and prevent slipping.
Projects requiring repair work, such as removing deep scratches or etching, demand a different approach. Begin with coarser grits (30-50) in affected areas only, then gradually transition to finer grits to match the surrounding surface texture. For engineered quartz surfaces, avoid aggressive pads that might damage the resin binding.
Pre-polished surfaces needing only minor enhancement can start with 400-grit pads, moving up to 800 or 1500 for the final shine. When working with dark-colored quartz, pay special attention to maintaining consistent pressure to avoid swirl marks that are more visible on darker surfaces.
For commercial applications requiring frequent maintenance, consider investing in diamond-impregnated pads, which offer longer durability and consistent results across large surface areas.
Best Practices for Pad Usage
Application Techniques
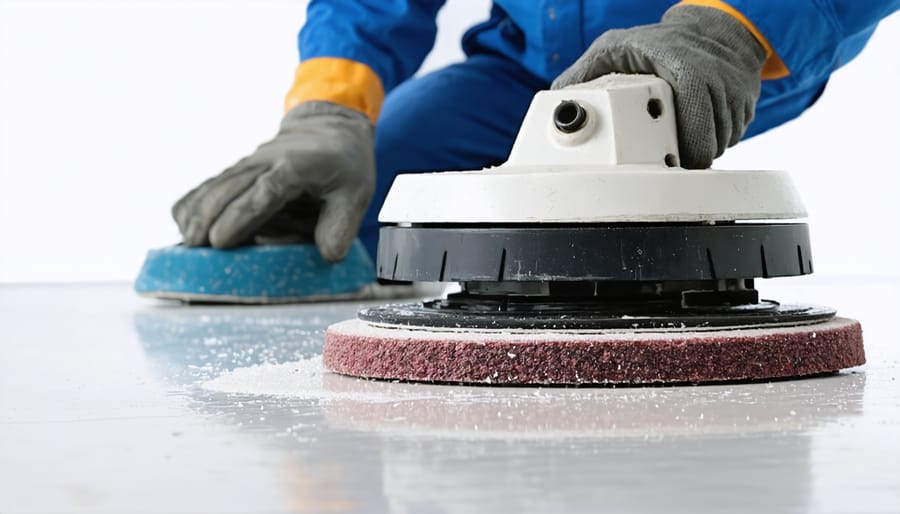
Proper application technique is crucial for achieving optimal results when polishing quartz surfaces. Begin by thoroughly cleaning the surface to remove any debris or contaminants that could interfere with the polishing process. Start with the coarsest grit pad appropriate for your surface’s condition, typically around 50 or 100 grit for damaged surfaces, or 400 grit for general maintenance.
Apply the pad to your polisher and ensure it’s centered correctly. With the surface slightly wet, begin polishing using moderate pressure – approximately 5-10 pounds of downward force. Work in overlapping sections of 2-3 square feet, moving the polisher in a smooth, consistent pattern. The goal is to achieve uniform surface textures throughout the process.
Maintain a steady speed between 1000-1500 RPM, adjusting based on your specific pad and surface requirements. Keep the pad flat against the surface at all times, avoiding tilting which can create uneven results. After completing each section, clean the surface and inspect your progress before moving to the next finer grit.
Progress through your pad sequence, reducing pressure slightly with each finer grit. The final passes with the finest grits (typically 3000+) should use very light pressure to achieve maximum shine. Between each pad change, thoroughly clean the surface and ensure it’s completely free of residue from the previous step.
Remember to keep the surface and pad adequately wet throughout the process, but avoid over-saturation. This helps prevent heat buildup and ensures optimal pad performance. Always maintain the pad’s condition by regularly cleaning it during use and storing it properly between applications.
Maintenance and Care
Proper maintenance of quartz polishing pads is essential for optimal performance and longevity. After each use, thoroughly rinse the pads with clean water to remove any residual slurry and debris. Allow them to air dry completely before storage to prevent mold growth and material degradation. Never store wet pads in sealed containers or plastic bags.
For deeper cleaning, soak the pads in a mild detergent solution for 15-20 minutes, then gently scrub with a soft brush to remove stubborn residue. Rinse thoroughly until the water runs clear. For particularly dirty pads, use a specialized stone polishing pad cleaner to restore their effectiveness.
Regular inspection is crucial. Check for signs of wear, such as torn edges, missing segments, or uneven surfaces. Rotate pads frequently during use to ensure even wear patterns and extend their lifespan. If you notice decreased performance or unusual vibration during operation, it’s time to replace the pad.
Store pads flat in a cool, dry place away from direct sunlight. Avoid stacking heavy items on top of them, as this can cause warping or permanent deformation. Keep different grit levels separated to prevent cross-contamination and maintain their individual cutting characteristics.
For professional users, maintain a log of pad usage hours and cleaning dates. This helps track wear patterns and plan replacements proactively. Consider having backup pads readily available to avoid project delays. When properly maintained, quality quartz polishing pads can last significantly longer and deliver consistent results throughout their service life.
Troubleshooting Common Issues
Surface Defects
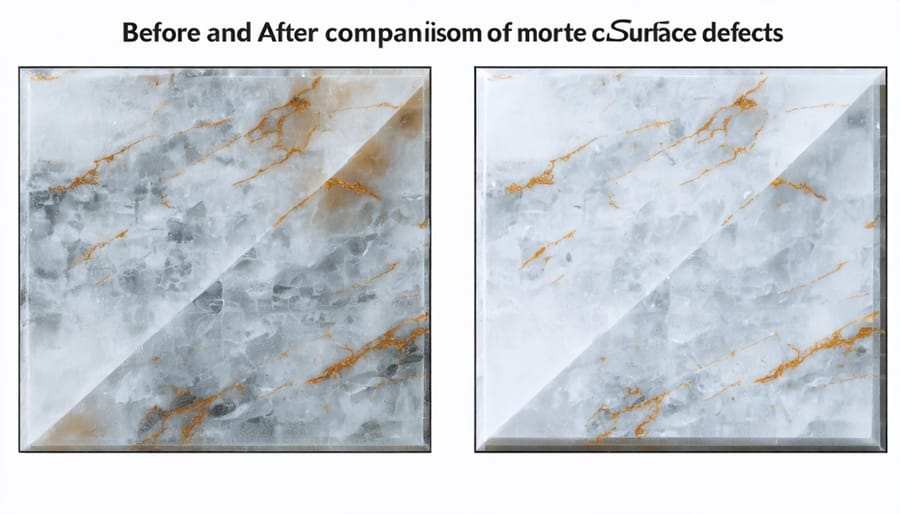
Common surface defects can significantly impact the final quality of your quartz polishing project. Understanding how to identify and address these issues is crucial for achieving professional results through proper stone polishing techniques.
Scratches are among the most frequent issues, appearing as fine lines or deeper grooves in the surface. These typically occur from using too coarse a grit or applying excessive pressure during polishing. Swirl marks, which present as circular patterns, often result from inconsistent movement or incorrect pad rotation speed.
Dull spots or uneven shine can emerge when polishing pressure isn’t uniform or when transitioning between grits too quickly. These areas appear as patches that don’t match the surrounding surface’s glossiness. Orange peel texture, characterized by a slightly dimpled appearance, usually develops from using worn-out pads or incorrect polishing compound application.
To address these defects, start by identifying the issue’s severity. Minor scratches often require returning to a medium grit pad before progressing to finer grits. For swirl marks, slow down the polishing speed and maintain even, overlapping passes. Uneven shine typically requires systematic repolishing of the affected area, ensuring consistent pressure and proper pad progression. Always keep your pads clean and replace them when worn to prevent introducing new defects during the correction process.
Pad Performance Problems
Common performance issues with polishing pads can significantly impact your quartz finishing results. One frequent problem is glazing, where the pad’s surface becomes smooth and loses its cutting ability. This typically occurs when the pad overheats or when there’s insufficient water flow during operation. To resolve this, dress the pad with a cleaning stick or briefly run it against a concrete surface to restore texture.
Uneven wear patterns often result from applying inconsistent pressure or maintaining incorrect angles during polishing. This leads to diminished performance and shorter pad life. Ensure you’re keeping the pad flat against the surface and using steady, even pressure throughout the polishing process.
If you notice your pads wearing out unusually quickly, check your operating speed and water flow. Excessive RPMs generate too much heat, while inadequate cooling accelerates wear. Maintain manufacturer-recommended speeds and ensure proper water distribution across the pad’s surface.
Poor polishing results might also stem from using the wrong pad sequence or skipping grit levels. Always start with the appropriate coarse grit for your surface condition and progress through the sequence methodically. Jumping grits can leave deep scratches that become difficult to remove in subsequent steps.
For optimal performance, clean pads regularly during use and store them flat in a cool, dry place. Replace pads when they show signs of significant wear or damage to maintain consistent results.
Selecting and using the right quartz polishing pads is crucial for achieving professional-quality results in stone surface restoration and maintenance. Throughout this guide, we’ve explored the various types of polishing pads available, from metal-bond diamond pads for initial grinding to resin-based pads for final polishing stages. The key to success lies in choosing the appropriate grit sequence and maintaining proper technique during the polishing process.
Remember that different quartz surfaces may require different approaches, and it’s essential to start with a thorough assessment of the stone’s condition before beginning any polishing work. Quality tools, combined with proper pad maintenance and replacement schedules, will ensure consistent results and extend the life of your polishing equipment.
For best results, always follow manufacturer recommendations regarding speed settings and water flow rates. Regular cleaning of pads between uses and proper storage will maintain their effectiveness and prevent cross-contamination between different grits. Whether you’re a professional stone fabricator or a dedicated DIY enthusiast, investing in high-quality polishing pads and taking the time to master proper techniques will lead to superior outcomes.
Consider starting with a small test area when working with new materials or unfamiliar surfaces, and gradually build confidence in your polishing technique. With proper care and attention to detail, you can achieve and maintain the stunning, mirror-like finish that makes quartz surfaces so desirable in modern applications.