Quartz surfaces, prized for their durability and elegance, aren’t immune to damage. From chips and scratches to stubborn stains, these engineered stone surfaces can develop imperfections that demand immediate attention. Professional restoration techniques now make it possible to repair even severe quartz damage without replacing entire countertops or surfaces, saving thousands in replacement costs.
Understanding quartz repair begins with recognizing its unique composition – approximately 93% natural quartz crystals bound with high-performance resins. This engineered structure influences repair approaches, requiring specialized techniques different from natural stone restoration. Whether dealing with minor surface scratches or deep impact damage, modern repair solutions can restore quartz surfaces to their original glory while maintaining their antimicrobial properties and structural integrity.
What separates successful quartz repair from costly mistakes lies in proper damage assessment and choosing the right repair method. Small chips might be manageable through DIY solutions, while deep cracks or extensive damage require professional intervention using industrial-grade compounds and precision tools. This guide explores proven repair techniques, helping you make informed decisions about restoring your quartz surfaces to their pristine condition.
Understanding Quartz Surface Damage
Common Types of Quartz Damage
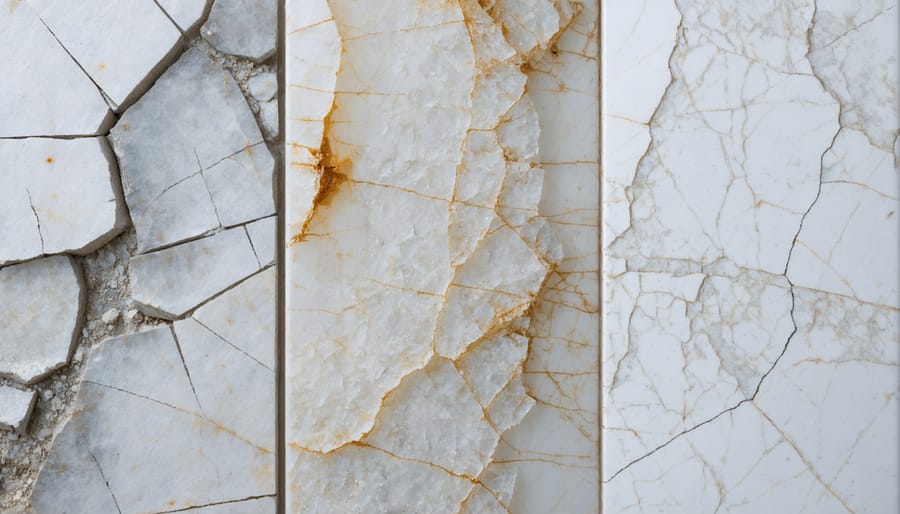
Quartz surfaces, while highly durable, can still suffer from various types of damage. Understanding stone damage is crucial for proper repair and maintenance. Chips commonly occur along edges and corners when heavy objects impact the surface, creating unsightly breaks in the material. Scratches range from light surface marks to deeper gouges, typically caused by abrasive materials or cutting directly on the surface without a cutting board.
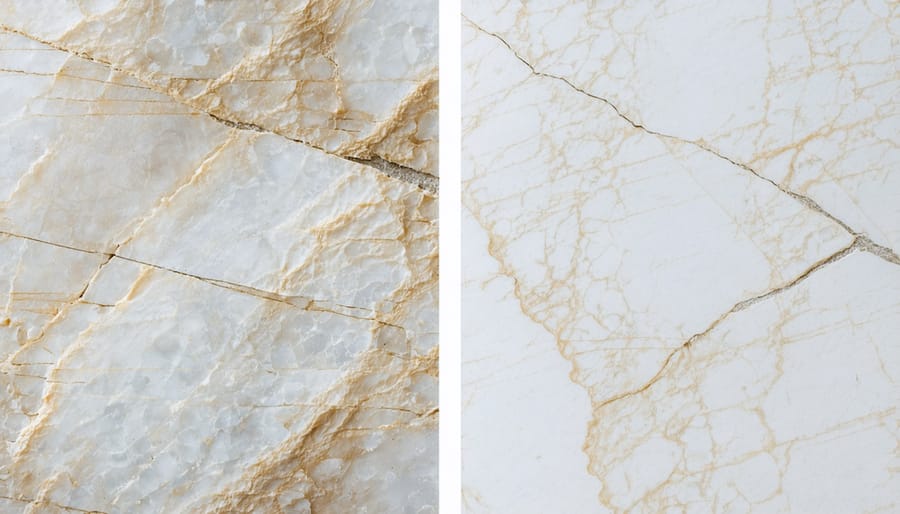
Cracks can develop from excessive weight, thermal shock, or improper installation, often appearing as single lines across the surface. Stains, while less common due to quartz’s non-porous nature, can still occur from prolonged exposure to harsh chemicals, wine, or oil-based products. Heat damage presents as discoloration or burn marks, usually resulting from placing hot pots directly on the surface without protection.
Etching, another form of chemical damage, appears as dull spots where acidic substances have reacted with the resin binders in the quartz. Each type of damage requires specific repair approaches, and the severity often determines whether DIY solutions are appropriate or professional intervention is necessary.
Assessing Repair Feasibility
Before attempting any repairs on your quartz surface, it’s crucial to accurately assess the extent and type of damage. Small chips, scratches, or minor surface damage under 1/4 inch are typically suitable for DIY repair solutions. These can often be addressed using commercially available repair kits and careful application of filling compounds.
However, certain damage indicators signal the need for professional intervention. Deep cracks, extensive chips larger than 1/4 inch, or damage near edges and seams require specialized expertise and equipment. If the damage affects the structural integrity of the surface or extends through the entire thickness, professional repair is mandatory to ensure proper restoration.
Consider the surface’s location and visibility when deciding on repair options. High-traffic areas or prominent surfaces where repairs will be highly visible may benefit from professional attention to ensure the best aesthetic outcome. Also factor in your comfort level with DIY repairs – if you’re unsure about any aspect of the repair process, consulting a certified quartz surface specialist will help avoid potentially costly mistakes.
DIY Quartz Repair Techniques
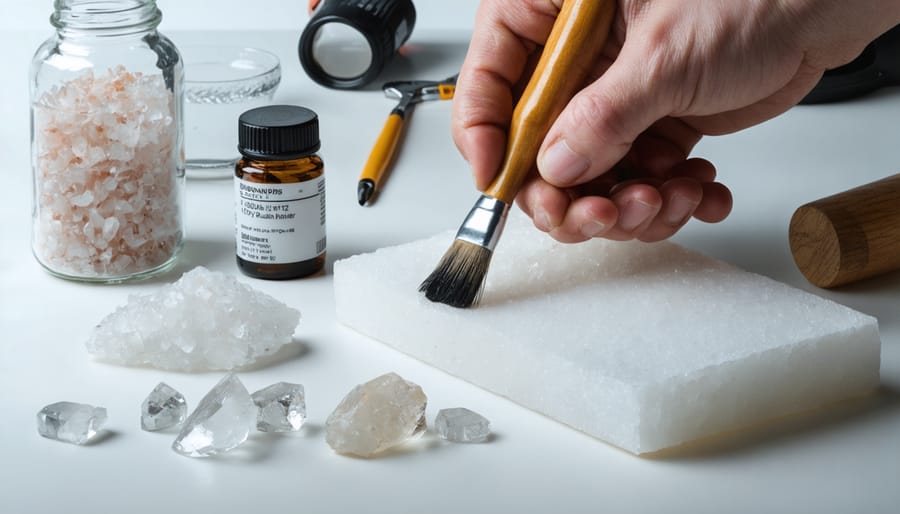
Surface Preparation
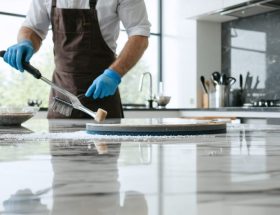
Before attempting any repairs on your quartz surface, proper preparation is essential for achieving the best results. Start by thoroughly cleaning the damaged area to clean without harsh chemicals. Use a pH-neutral stone cleaner and a soft microfiber cloth to remove any dirt, grease, or debris from the surface.
Once cleaned, dry the area completely with a lint-free cloth. If there are any loose particles or chips around the damaged spot, carefully remove them using a plastic scraper to prevent further damage. For deep scratches or chips, use isopropyl alcohol to sanitize the area and ensure no contaminants remain that could compromise the repair.
Mark off the repair area with painter’s tape to protect the surrounding surface and create clean repair boundaries. If working with color-matched fillers or resins, test the product on an inconspicuous area first to ensure a proper match. Allow the surface to reach room temperature if it’s been recently exposed to extreme temperatures, as this can affect how repair materials cure and bond.
Fixing Minor Scratches
Minor scratches on quartz surfaces can often be addressed through simple DIY methods, saving you time and money on professional repairs. Begin by thoroughly cleaning the affected area with a non-abrasive cleaner and soft cloth to remove any debris that might interfere with the repair process.
For superficial scratches, a quartz-specific polishing compound is your best option. Apply a small amount to the scratch using a soft microfiber cloth, working in circular motions with light pressure. Continue buffing until the scratch becomes less visible. Some manufacturers offer scratch-removal kits designed specifically for their products, which typically include everything needed for basic repairs.
Another effective method involves using a fine-grit sandpaper (minimum 2000-grit) followed by polishing. Start by gently wet-sanding the scratch, being careful not to apply too much pressure. Work gradually from fine to ultra-fine grits if needed, always keeping the surface wet during sanding. Follow up with a polishing compound to restore the surface’s shine.
For slightly deeper scratches, clear epoxy fillers designed for quartz can be used. Apply the filler carefully with a plastic putty knife, ensuring it’s level with the surrounding surface. Once cured, buff the area with a polishing compound to match the original finish.
Remember to always test your chosen repair method in an inconspicuous area first, and avoid using generic scratch removers or abrasive materials not specifically designed for quartz surfaces.
Repairing Small Chips
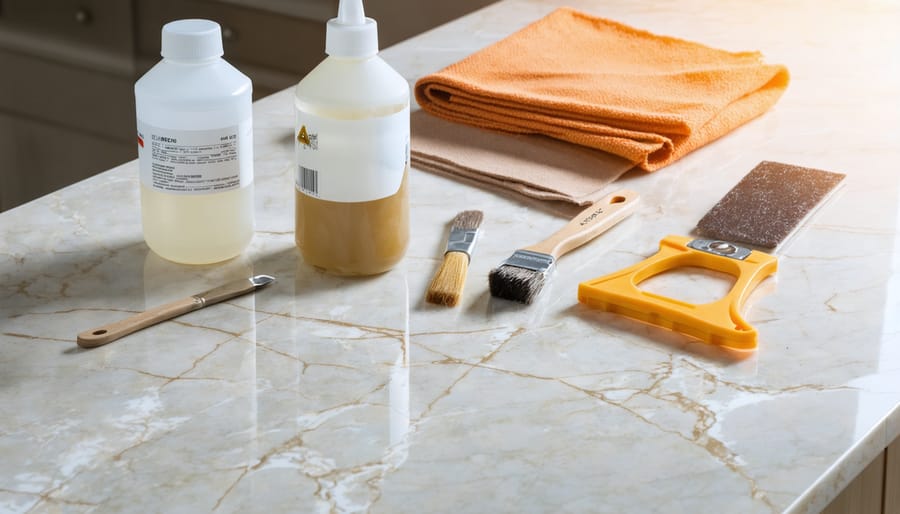
Small chips in quartz surfaces can be effectively repaired using a clear or color-matched epoxy resin system. Begin by thoroughly cleaning the chipped area with isopropyl alcohol and allowing it to dry completely. This ensures proper adhesion of the repair materials.
For the repair, use a two-part epoxy specifically designed for stone surfaces. Mix the epoxy according to the manufacturer’s instructions, typically using equal parts of resin and hardener. If color matching is necessary, add small amounts of pigment to match your quartz surface’s exact shade before mixing the epoxy components.
Apply the mixed epoxy to the chip using a small plastic applicator or toothpick. Slightly overfill the damaged area, as the epoxy will shrink slightly while curing. For deeper chips, apply the epoxy in layers, allowing each layer to partially cure before adding the next. This prevents air bubbles and ensures proper filling.
Once applied, use clear packing tape over the repair to create a smooth, level surface. The tape also prevents dust from settling in the wet epoxy. Allow the repair to cure completely according to the manufacturer’s specifications, typically 24-48 hours.
After curing, carefully remove the tape and examine the repair. If the epoxy is slightly raised, use a razor blade held at a 45-degree angle to carefully scrape away excess material. For final finishing, wet-sand the area with fine-grit sandpaper (1000-2000 grit) to blend the repair with the surrounding surface. Complete the process by buffing the repaired area with a soft cloth to restore the original shine.
Professional Repair Methods
Deep Crack Repair
Deep cracks in quartz surfaces require professional intervention due to their complexity and the specialized equipment needed for proper repair. These significant fractures typically extend beyond surface level and can compromise the structural integrity of the material if not addressed correctly.
Professional repair technicians typically begin by thoroughly cleaning the damaged area using specialized stone cleaners to remove any debris or contaminants. They then assess the crack’s depth and extent using diagnostic tools to determine the most appropriate repair method.
The most common professional repair technique involves injecting a specially formulated epoxy or acrylic resin into the crack using pressure-injection equipment. This high-grade adhesive penetrates deep into the fracture, creating a permanent bond that restores both structural integrity and appearance. Color-matching additives are mixed with the repair compound to ensure the final result blends seamlessly with the surrounding quartz.
After injection, technicians often use vacuum technology to remove any air bubbles trapped within the repair material, ensuring complete penetration and maximum strength. The surface is then leveled using diamond grinding tools, followed by progressive polishing steps to restore the original finish and luster.
In cases where cracks occur near edges or seams, professionals may need to reinforce the repair with steel pins or brackets installed beneath the surface. This additional support helps prevent future crack propagation and ensures long-term durability.
While deep crack repairs can be expensive, they’re essential for maintaining the value and functionality of your quartz surface. Professional repairs typically come with warranties and can extend the life of your quartz installation significantly.
Color Matching and Finishing
Achieving a seamless repair on quartz surfaces requires careful attention to color matching and finishing techniques. Just as with professional stone restoration techniques, the key lies in understanding the unique patterns and color variations of your specific quartz surface.
Start by creating a test sample of your repair mixture on a small, inconspicuous area. Mix different pigments to match the base color of your quartz, considering both the primary shade and any subtle variations. Many professional-grade repair kits include color matching guides and mixing ratios to help achieve the perfect match.
For multi-colored quartz surfaces, you may need to apply several layers of slightly different colored resins to recreate the natural depth and movement of the pattern. Use fine brushes or specialized tools to add subtle veining or particulate effects that mirror the surrounding area.
The finishing process is equally crucial for achieving an invisible repair. Begin with progressively finer grits of diamond polishing pads, starting at around 200-grit and working up to 3000-grit for a high-gloss finish. Pay careful attention to blend the repaired area’s edges with the surrounding surface to eliminate any visible transition lines.
For textured or honed finishes, you’ll need to replicate the original surface texture using specialized buffing techniques or texture-matching tools. Remember that lighting conditions can affect how the repair appears, so evaluate your work under different light sources to ensure consistency from all angles.
Preventive Maintenance
Daily Care Guidelines
Proper daily maintenance of your quartz surfaces can prevent damage and extend their lifespan. Start by wiping spills immediately with a soft, damp cloth to prevent staining. For routine cleaning, use earth-friendly cleaning solutions specifically designed for quartz surfaces.
Avoid using abrasive cleaners, scouring pads, or harsh chemicals that can dull the surface’s finish. Keep acidic substances like lemon juice, vinegar, and wine from sitting on the surface, as these can potentially cause etching. Always use cutting boards and trivets to protect against scratches and heat damage.
While quartz is highly resistant to staining, it’s not completely impervious. Place coasters under glasses and bottles, especially those containing dark liquids or alcohol. For stubborn spots, use a plastic scraper to gently remove dried substances rather than metal tools that could scratch the surface.
Regular inspection of your quartz surfaces can help identify potential issues before they become serious problems. Look for any changes in shine, texture, or color that might indicate damage. Establishing these daily care habits will maintain your quartz surfaces’ beauty and durability while minimizing the need for repairs.
Long-term Protection
After completing repairs on your quartz surface, implementing proper long-term protection strategies is crucial to maintain its beauty and durability. Regular cleaning with pH-neutral cleaners specifically designed for quartz surfaces forms the foundation of preventive maintenance. These gentle cleaners effectively remove daily dirt and grime without compromising the surface’s integrity.
To prevent stone deterioration, always use cutting boards and trivets to protect against direct contact with sharp objects and hot items. While quartz is highly resistant to scratches and heat, these protective measures significantly extend the life of your repaired surfaces.
Apply a high-quality quartz sealer annually to maintain the surface’s resistance to stains and moisture. Though quartz naturally resists liquid penetration, sealed surfaces offer enhanced protection, particularly in high-use areas like kitchen countertops.
Monitor repaired areas regularly for any signs of wear or damage. Quick attention to minor issues prevents them from developing into larger problems requiring extensive repairs. Keep cleaning supplies readily available and establish a routine maintenance schedule that includes weekly deep cleaning and daily surface wipes.
Remember to educate all household members or facility users about proper care practices. Simple habits like immediately wiping spills and avoiding abrasive cleaners can significantly impact the longevity of your quartz surfaces.
Proper quartz surface repair requires a careful balance of technique, knowledge, and the right tools. Whether dealing with minor scratches or significant chips, understanding the appropriate repair method is crucial for maintaining your surface’s beauty and functionality. DIY solutions can effectively address minor damage, while professional intervention is essential for more severe issues. Remember to always assess the extent of damage before attempting repairs, use appropriate materials, and follow manufacturer guidelines. Regular maintenance and prompt attention to damages will extend your quartz surface’s lifespan and preserve its value. By implementing the correct repair techniques and knowing when to seek professional help, you can ensure your quartz surfaces remain stunning and durable for years to come.