MacOS installation failures can bring your workflow to a grinding halt, but most cases are resolvable through systematic troubleshooting. When encountering the dreaded “Installation Could Not Continue” error, the problem typically stems from insufficient storage space, corrupted installation files, or system compatibility issues. Understanding these root causes is crucial for implementing the right fix and getting your Mac back up and running quickly. This guide walks you through proven solutions that have helped countless users overcome installation roadblocks, from basic storage cleanup to advanced recovery methods. Whether you’re upgrading to the latest MacOS version or performing a clean install, we’ll help you identify the specific error message and apply the appropriate fix, saving you hours of frustration and potential data loss.
Common Causes of MacOS Installation Failures
Insufficient Storage Space
MacOS installations require substantial free space to complete successfully. The system needs room for both downloading the installer and unpacking files during the process. Generally, you’ll need at least 20GB of free space, though having 30-40GB available is recommended for a smooth installation. To check your available storage, click the Apple menu and select “About This Mac,” then click “Storage.” If space is limited, try removing large files, old applications, or moving data to external storage. Clear your trash bin and delete downloaded installers from previous attempts. For newer Macs with SSDs, maintaining at least 10% free space is crucial for optimal performance during the installation process.
Corrupted Installation Files
Installation files can become corrupted during download or transfer, leading to installation failures. Common signs include incomplete downloads, unexpected file sizes, or verification errors in the Mac App Store. To verify your installation media, check the file size of your MacOS installer (typically 12-13GB for recent versions) and ensure it was downloaded directly from the App Store. If you suspect corruption, delete the existing installer, restart your Mac, and download a fresh copy. The installation process includes built-in verification checks that will alert you to corrupted files before proceeding, helping prevent potential system damage.
System Compatibility Issues
MacOS installations require specific hardware and software configurations to succeed. Your Mac must have at least 4GB of RAM, though 8GB is recommended for optimal performance. Storage requirements vary by version, but generally need 12GB of free space plus additional room for the installation files. Ensure your Mac model is compatible with the MacOS version you’re installing – newer versions may not work on older hardware. Check that your current OS is recent enough to support the upgrade path you’re attempting. Your Mac’s firmware should be up to date, and your hard drive must be formatted as APFS or Mac OS Extended (Journaled). Third-party security software or kernel extensions can sometimes interfere with installation, so temporarily disable these if needed.
Step-by-Step Troubleshooting Solutions
Safe Mode Installation Method
Installing macOS in Safe Mode can often resolve installation issues by preventing third-party software conflicts and performing basic system checks. To begin, shut down your Mac completely. Turn it on while holding down the Shift key immediately after pressing the power button. Keep holding Shift until you see the Apple logo and progress bar.
Once in Safe Mode, you’ll notice your Mac running slower than usual – this is normal. The system is operating with minimal required extensions and drivers. Before attempting the installation again, clear your Mac’s cache and verify your disk health using Disk Utility. This preliminary cleanup can remove corrupted files that might be blocking the installation.
To proceed with the installation in Safe Mode, launch the macOS installer as you normally would. The installation process may take longer than usual, but this method often succeeds where normal installation attempts fail. Safe Mode automatically disables third-party kernel extensions and startup items that could interfere with the installation process.
If the installation completes successfully, your Mac will restart normally. You don’t need to do anything special to exit Safe Mode – just restart your computer as usual, and it will boot into regular mode with your fresh macOS installation.
Remember to back up your important data before attempting any installation method, including Safe Mode installation.
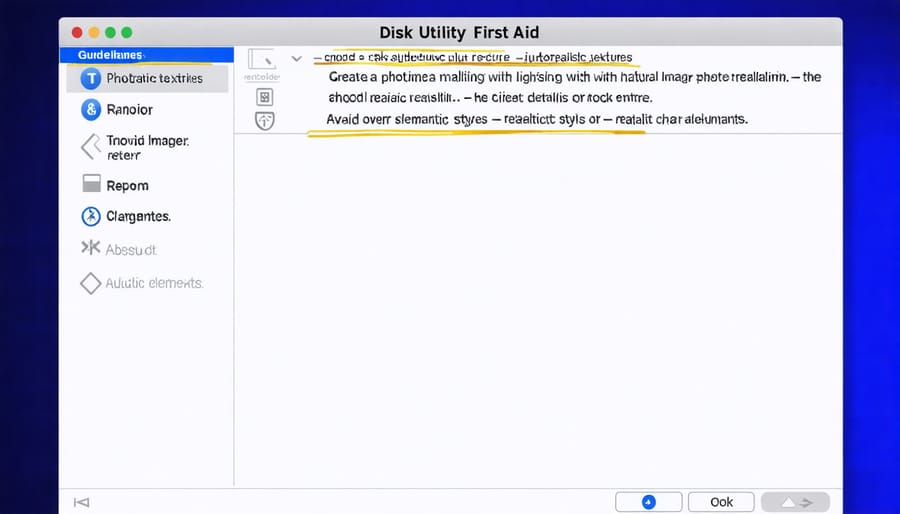
Disk Utility First Aid
Before attempting a macOS installation, running First Aid through Disk Utility can resolve many common installation problems. This essential diagnostic tool checks your disk for errors and repairs them when possible, ensuring your system is ready for a successful installation.
To access Disk Utility First Aid, restart your Mac and hold Command + R to enter Recovery Mode. Select Disk Utility from the utilities window, then click on your main hard drive in the sidebar. Click the First Aid button and allow the process to complete – this may take several minutes depending on your disk size.
First Aid performs several crucial checks, including volume structure verification, file system checks, and disk permission repairs. If any issues are found, the utility will attempt to fix them automatically. Pay attention to any error messages or warnings displayed during the process, as these can indicate deeper hardware problems that might need professional attention.
Following proper installation procedures including this preliminary disk check can prevent many common installation failures. If First Aid reports persistent errors or cannot repair your disk, consider backing up your data and reformatting the drive before attempting the installation again. This approach often resolves stubborn installation issues while protecting your important files.
Clean Installation Process
When all other troubleshooting methods have failed, performing a clean installation of macOS may be your last resort. This process involves completely erasing your Mac’s drive and installing a fresh copy of the operating system.
Before proceeding, back up all your important data using Time Machine or another backup method. You’ll need to create a bootable USB installer using another Mac or download macOS directly from Recovery Mode.
To perform a clean installation:
1. Restart your Mac and hold Command + R to enter Recovery Mode
2. Select Disk Utility and choose your main drive
3. Click “Erase” and format the drive as APFS
4. Exit Disk Utility and select “Reinstall macOS”
5. Follow the on-screen instructions to complete the installation
The process typically takes 30-45 minutes, depending on your internet connection and Mac’s specifications. After installation, you’ll need to restore your backed-up data and reinstall applications.
While this method can resolve persistent installation issues, it should only be used after exhausting other options since it requires significant time and effort to restore your Mac to its previous working state. Consider reaching out to Apple Support before proceeding with a clean installation if you’re unsure about the process.
Preventing Future Installation Problems
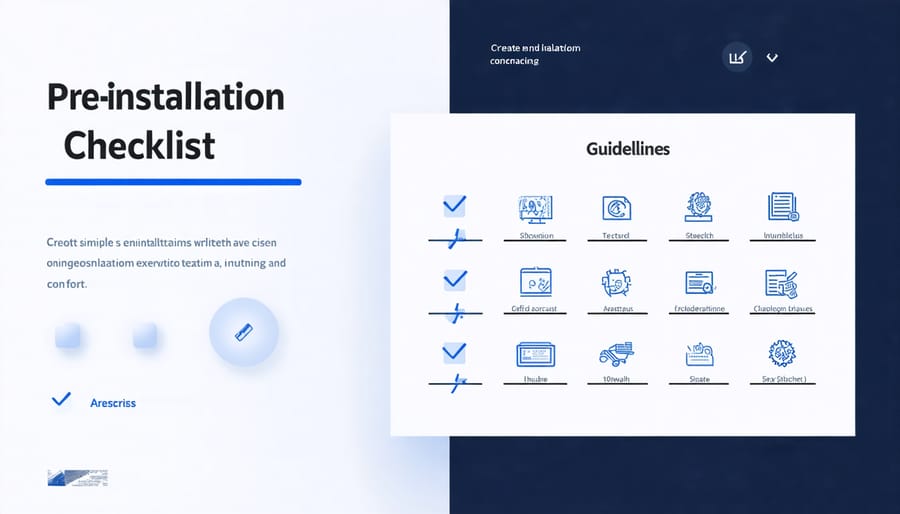
Pre-Installation Checklist
Before attempting a MacOS installation, it’s crucial to complete these essential installation steps to prevent common issues. First, verify that your Mac meets the minimum system requirements for the version you’re installing. Ensure you have at least 20GB of free storage space and a stable internet connection for downloading the installer.
Back up all your important data using Time Machine or another reliable backup solution. This precaution is vital in case anything goes wrong during the installation process. Check your Mac’s battery level – if you’re using a MacBook, connect it to a power source to prevent unexpected shutdowns.
Disable or uninstall any third-party security software temporarily, as these can sometimes interfere with the installation process. Verify your Mac’s startup disk health using Disk Utility, and repair any issues it finds. If you’re upgrading from an older version, ensure all your critical applications are compatible with the new MacOS version.
Finally, sign out of iCloud and other Apple services before beginning the installation to prevent any account-related complications.
Backup Strategy
Before attempting any MacOS installation, creating a comprehensive backup of your data is absolutely crucial. Use Time Machine to perform a complete system backup to an external drive, ensuring all your personal files, applications, and settings are safely preserved. For critical files, consider implementing a redundant backup strategy by using cloud storage services like iCloud or creating a separate manual backup on another storage device.
Verify that your backup is complete and accessible by checking the Time Machine backup history or testing access to your manual backups. Pay special attention to documents, photos, and other irreplaceable files in your User folder. Additionally, make note of your installed applications and their license keys, as you may need to reinstall them after resolving the installation issues.
Even if you’re confident about the installation process, having a current backup provides peace of mind and a safety net in case anything goes wrong. Remember that some MacOS installation problems may require formatting your drive, making a proper backup even more critical. Never proceed with troubleshooting steps that involve disk manipulation without first ensuring your data is securely backed up.
Successfully installing macOS requires careful attention to detail and proper preparation. By following the troubleshooting steps outlined in this guide, you can overcome common installation obstacles and ensure a smooth upgrade process. Remember to always back up your data, verify system compatibility, and maintain sufficient storage space before attempting any installation. If you encounter persistent issues, don’t hesitate to contact Apple Support or visit an authorized service provider. Taking preventive measures and following recommended installation practices will help you avoid future complications and maintain your Mac’s optimal performance. Keep your system up to date and regularly check for potential hardware or software conflicts to ensure successful future installations.