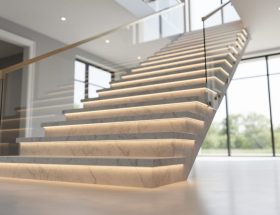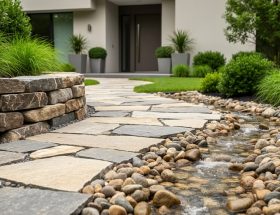
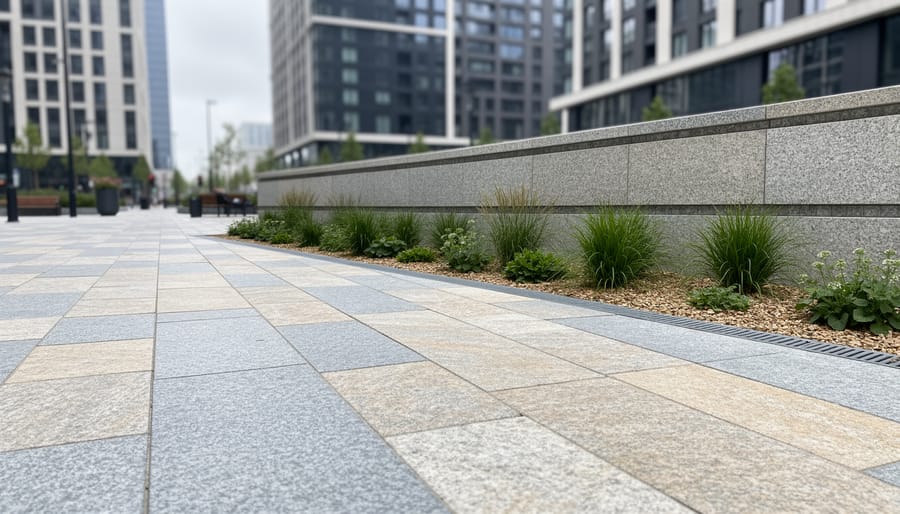
Urban landscape design with natural stone transforms public spaces into durable, beautiful environments that serve communities for decades. The process involves strategic material selection, site analysis, and careful integration of stone elements like pavers, retaining walls, and decorative features into streetscapes, plazas, and green infrastructure. When executed properly, stone installations create cohesive urban environments that balance functionality with aesthetic appeal while withstanding heavy foot traffic and harsh weather conditions.
Natural stone has shaped cities for millennia, from ancient Roman forums to modern metropolitan plazas. Today’s urban planners and landscape architects face unique challenges: accommodating dense populations, managing stormwater, creating accessible public spaces, and building infrastructure that lasts. Stone materials like granite, limestone, and sandstone meet these demands through exceptional durability and minimal maintenance requirements. Unlike manufactured alternatives that crack, fade, or require frequent replacement, quality stone installations improve with age and weather gracefully.
The key to successful urban stone design lies in understanding your site conditions, selecting appropriate materials for climate and use patterns, and following proper installation protocols. A plaza in Phoenix demands different stone choices than a Boston streetscape. Load-bearing requirements for vehicular areas differ vastly from pedestrian pathways. Each decision, from base preparation to joint spacing, affects long-term performance.
This guide walks you through the complete process of incorporating natural stone into urban landscapes, covering material selection criteria, installation techniques, safety compliance, and verification methods that ensure projects meet professional standards and serve communities for generations.
Essential Materials and Stone Selection for Urban Projects
Matching Stone Properties to Urban Conditions
Urban stone selection demands matching material properties to real-world performance demands, not just aesthetic preferences. Start with slip resistance, the most critical safety factor in high-traffic areas. Request coefficient of friction (COF) testing results from suppliers; look for wet dynamic COF values of 0.60 or higher for pedestrian zones and 0.80+ for ramps and slopes. Thermal granite and flamed limestone typically meet these thresholds, while polished surfaces rarely do.
Porosity directly affects durability and maintenance. In freeze-thaw climates, choose dense stones with absorption rates below 0.5% to prevent water infiltration and cracking. Granite and quartzite excel here; most sandstones and some limestones require sealing every two to three years. Request ASTM C97 absorption test data before specifying.
Weathering resistance varies dramatically by stone type and urban pollutants. Granite withstands acid rain and de-icing salts with minimal degradation. Limestone and marble develop surface etching in high-pollution areas but perform well in coastal or suburban settings. Natural vs. manufactured stone comparisons show natural materials age gracefully while synthetics can crack or fade unevenly.
Maintenance requirements multiply in urban contexts. Darker stones hide stains but show salt residue; lighter tones need more frequent cleaning but resist heat buildup. For heavily-used plazas, specify stones rated for commercial traffic loads and plan quarterly professional cleaning rather than hoping low-maintenance claims hold true.
Critical Safety and Regulatory Considerations
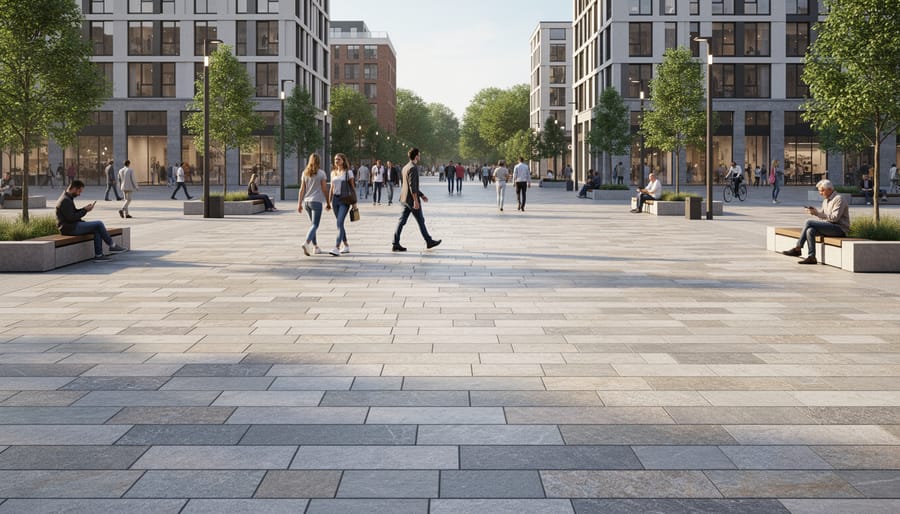
Urban landscape design in public spaces demands strict adherence to safety codes and accessibility regulations, making compliance your first priority before finalizing any design. Getting these requirements wrong can derail your project mid-construction, trigger costly retrofits, or expose you to liability claims.
Start by reviewing ADA (Americans with Disabilities Act) accessibility standards, which apply to virtually all public and commercial urban landscapes. Paving surfaces must maintain a maximum slope of 1:12 for accessible routes, with 1:20 preferred for extended pathways. Stone surfaces need a slip resistance rating of at least 0.6 DCOF (Dynamic Coefficient of Friction) when wet, measured according to ANSI A326.3 standards. Smooth, polished stone finishes rarely meet this threshold in outdoor applications, so specify thermal, flamed, or textured finishes for pedestrian areas. Changes in elevation require compliant ramps or gradual transitions, not steps alone.
Load-bearing calculations become essential when designing plazas, streetscapes, or any area supporting vehicular traffic or heavy pedestrian loads. Stone pavers over concrete substrates typically handle standard foot traffic without structural analysis, but loading docks, vehicle crossings, or large gathering spaces require engineering review. The Natural Stone Institute Design Manual provides industry-standard calculations for load requirements and installation methods.
Coordinate early with municipal authorities to understand local building codes, stormwater management requirements, and public works standards. Many cities mandate specific edge details, drainage slopes, and maintenance access provisions. Your timeline should account for plan review periods, which can extend six to twelve weeks in major metropolitan areas.
Engage a licensed landscape architect for projects involving public safety, complex grading, or integration with existing infrastructure. Structural engineers become necessary when designing retaining walls over four feet, large cantilevers, or any stone element supporting significant lateral or vertical loads. These professionals carry the liability insurance and certification stamps required for municipal approval.
Step-by-Step Urban Stone Landscape Design Process
Step 1: Conduct Site Assessment and Define Project Goals
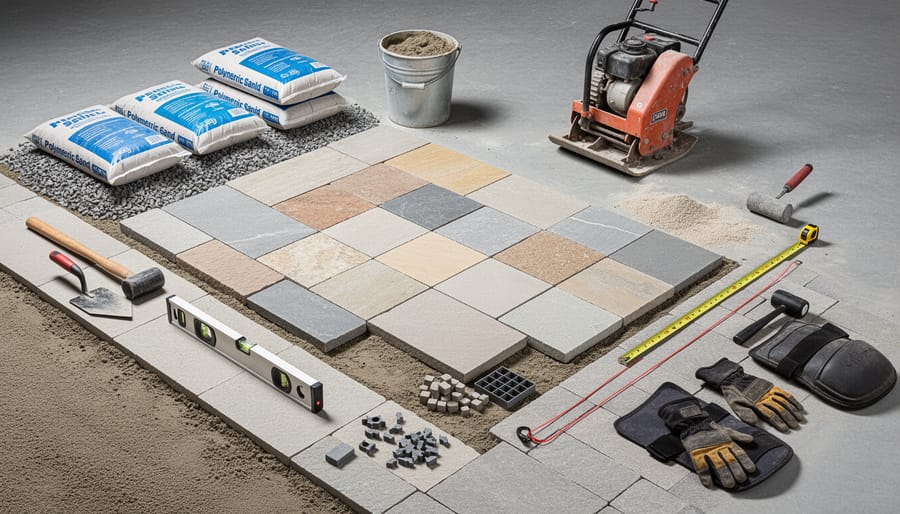
Start by walking the site at different times of day to observe how people move through the space and where they naturally congregate. Document peak traffic periods, main pedestrian routes, and bottleneck areas that affect your stone layout decisions. Photograph existing conditions, noting sun exposure patterns, shade zones, and how light interacts with surrounding buildings throughout the day.
Assess drainage by observing where water pools after rain and identifying existing grades and flow patterns. Poor drainage will undermine any stone installation, so map out low spots and determine whether your design needs to incorporate positive drainage slopes or integrate permeable solutions. Test soil conditions to understand bearing capacity and whether you’ll need additional base preparation for heavy stone elements.
Evaluate the urban context: architectural styles of adjacent buildings, existing materials in the streetscape, and cultural significance of the location. Your stone selection should complement rather than clash with this environment.
Define clear project goals that balance competing priorities. Determine whether accessibility, stormwater management, durability, or aesthetic impact takes precedence. Establish measurable objectives like “reduce surface water runoff by 30%” or “create minimum 8-foot clear pedestrian paths” that will guide every subsequent design decision.
Step 2: Develop Design Concepts and Stone Application Strategy
Translate your site assessment findings into visual concepts that respond to the urban context. Start by sketching multiple layout options that address traffic flow, gathering spaces, and sight lines you identified in Step 1. Consider how different zones will function, heavy pedestrian corridors need durable, slip-resistant paving while rest areas can feature decorative stone pattern layouts with varied textures.
Develop a color palette that either harmonizes with surrounding architecture or provides deliberate contrast. Warm-toned sandstone and terracotta granite soften contemporary glass facades, while cool gray limestone complements historic brick districts. Map out where different stone types will appear: reserve your most striking materials for focal points like plaza centers or building entrances, using simpler finishes for expansive paving areas to control costs.
Create detail drawings showing how stone elements will connect. Plan transitions between paving types, edge conditions at planters, and coping details for seat walls. Specify surface finishes now, thermal granite for main walkways, honed limestone for seating ledges, split-face stone for retaining walls. This concept phase establishes the design language before you commit to quantities and installation methods.
Step 3: Specify Materials and Calculate Quantities
Once design concepts are finalized, translate them into precise material specifications and quantities. Start by creating detailed specification sheets for each stone type, documenting finish (thermal, flamed, honed, bush-hammered), dimensions, edge profiles, and any custom fabrication requirements. For pavement, specify thickness based on anticipated loads, typically 2-3 inches for pedestrian areas, 4-6 inches for vehicular zones.
Calculate square footage for each application area, then add waste factors appropriate to the installation method. Standard waste allowances run 10-15% for modular paving in straight patterns, 15-20% for diagonal or herringbone layouts, and 20-25% for irregular flagstone or complex curved designs. Urban projects often require higher waste factors due to cuts around tree grates, utility covers, and existing infrastructure.
Don’t forget ancillary materials: specify setting beds (sand, mortar, or pedestal systems), joint materials, edge restraints, and sealers. For a 1,000-square-foot granite plaza, you might need 1,150 square feet of stone (15% waste), 4 cubic yards of bedding sand, 50 linear feet of edge restraint, and 3 gallons of penetrating sealer.
Develop a sourcing strategy that balances aesthetic consistency with realistic lead times. Order samples from suppliers, verify availability of your specified quantities, and establish acceptable variation ranges for natural stone’s inherent color and veining differences.
Step 4: Prepare Site Infrastructure and Substrate
Site infrastructure and substrate preparation form the invisible foundation that determines whether your urban stone landscape will thrive for decades or fail within months. Start by excavating to the depth specified in your engineering plans, typically 12 to 18 inches for pedestrian areas, deeper for vehicular loads. Remove all organic material, debris, and unstable soils that could cause settling.
Install drainage infrastructure before any base layers go down. This includes catch basins, perforated pipes, and gravel drainage channels positioned to direct water away from stone surfaces and building foundations. Coordinate utility locations with a call before you dig, marking all water, gas, electric, and telecom lines. Urban sites often harbor unexpected underground infrastructure that can derail installation if discovered mid-project.
Build your base in compacted layers. Start with a geotextile fabric to prevent soil migration, then add crushed stone base course in four-inch lifts, compacting each layer to 95% density with a plate compactor or roller. The final leveling layer, typically one inch of sand or stone dust, provides the precise grade for stone placement. Use laser levels to verify slopes of one to two percent for proper drainage across all surfaces.
Step 5: Install Natural Stone Elements
Installation transforms your carefully planned design into physical reality, demanding precision and attention to detail at every stage. Begin with paving by establishing string lines and control points to maintain proper alignment and grades. Set stones on a bedding layer appropriate to your substrate, typically a sand-cement mix for dry-set installations or mortar for adhered applications. Work systematically from a fixed reference point, checking levels continuously as you progress.
For cladding and vertical elements, use mechanical anchors or mortar beds depending on stone thickness and wall height. Ensure proper drainage behind vertical surfaces to prevent moisture accumulation and frost damage. Space joints consistently using spacers, maintaining uniform widths that accommodate thermal movement while preserving visual rhythm.
Quality control happens in real time. Verify each stone’s position before the setting material cures. Check for lippage between adjacent stones, differences in surface height, which creates tripping hazards and water pooling. Test drainage flow regularly by wetting sections as you work. Address alignment issues immediately; corrections become exponentially more difficult after setting materials harden. Maintain clean work surfaces, removing excess mortar or bedding material before it stains the stone.
Step 6: Apply Finishing Touches and Protection
After installation, protect your investment with proper finishing treatments that ensure durability and appearance in high-traffic urban conditions. Start by removing all construction debris, mortar residue, and efflorescence using pH-neutral cleaners specifically formulated for your stone type, acidic cleaners can etch limestone and marble, while alkaline solutions may stain granite.
Apply a penetrating sealer appropriate for the stone’s porosity and expected foot traffic. Dense granite in commercial plazas typically needs sealer every 3-5 years, while porous sandstone may require annual treatment. Use sealers rated for exterior use and freeze-thaw resistance in cold climates. Apply when temperatures will remain above 50°F for 24 hours and rain isn’t forecasted for 48 hours.
Fill joints completely to prevent water infiltration and weed growth. Polymeric sand works well for pedestrian areas, creating a stable yet slightly flexible joint that accommodates minor movement. For vehicular applications, use mortared joints with proper depth and tooling.
Install temporary barriers to allow sealers to cure fully before public access, premature foot traffic can compromise protection and leave permanent marks. Document all products used and application dates for future maintenance planning.
Key Urban Stone Applications and Design Techniques
Integrating Stone with Urban Green Infrastructure
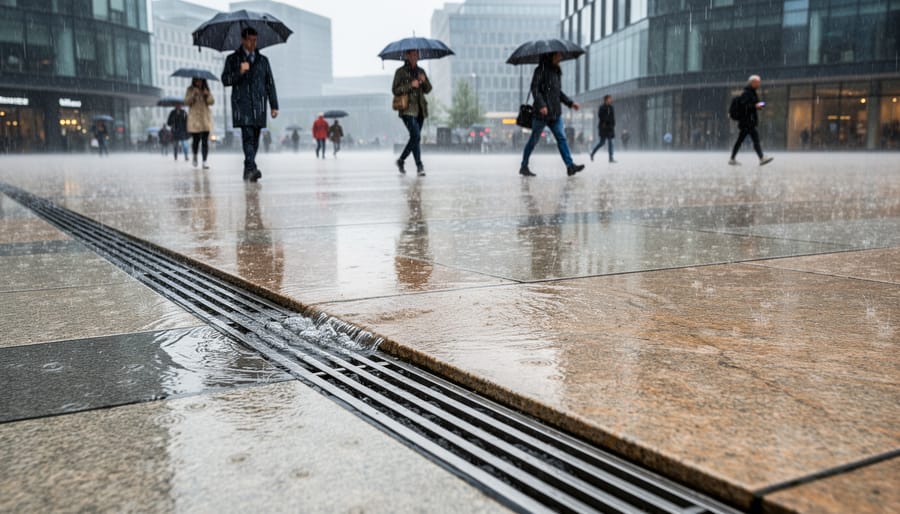
Natural stone serves a dual role in urban green infrastructure by managing stormwater while creating resilient, attractive landscapes. In rain gardens and bioswales, granite or limestone edging defines planting beds and channels runoff toward vegetation, combining structural stability with natural filtration. The stone’s thermal mass moderates soil temperature fluctuations, protecting plant roots during extreme weather. Permeable paving systems using cut stone with wide joints or stone aggregate bases allow rainwater to infiltrate directly into the ground, reducing strain on municipal storm drains while preventing puddle formation on pedestrian paths.
Urban tree pits benefit from stone borders that protect root zones from compaction while providing seating ledges, similar to how natural stone benches create functional resting points in public spaces. Choose stones with moderate porosity for edging elements that contact planted areas; sandstone and certain limestones allow limited moisture exchange without deteriorating. For high-flow bioswales, select dense granite or basalt that withstand periodic inundation and scouring. Proper installation requires a gravel base beneath stone elements to maintain subsurface drainage while the visible stone guides surface water flow, creating infrastructure that performs hydraulically while enhancing the urban forest canopy and pedestrian experience.
Verifying Quality and Ensuring Long-Term Performance
Quality verification begins immediately after installation, while site conditions still allow for corrections. Walk the entire landscape with project stakeholders to identify surface irregularities, uneven joints, or visible defects before final acceptance. Check stone alignment against design drawings, measuring key dimensions and pattern continuity across large paved areas.
Test drainage thoroughly by flooding surfaces with water to observe flow patterns and pooling. Urban stone landscapes must shed water efficiently; standing water indicates improper grading or inadequate substrate preparation. Use a level to verify minimum 2% slope on paved areas, and confirm that drainage inlets receive runoff without erosion around edges.
Verify slip resistance with a tribometer or British Pendulum test, especially on high-traffic pedestrian zones. Wet stone surfaces should meet ASTM standards for public walkways, typically a wet dynamic coefficient of friction above 0.6. If results fall short, consider textured finishes or supplemental treatments before opening the space to public use.
Inspect joint integrity by running a thin blade along mortar or grout lines to test adhesion. Loose or crumbling joints compromise structural performance and accelerate deterioration. Check expansion joints at building interfaces and material transitions to ensure proper sizing and flexible sealant placement.
Confirm accessibility compliance by measuring cross-slopes, running slopes, and detectable warning surface placement against ADA requirements. Hire certified accessibility consultants for final verification on public projects, municipal inspectors will conduct their own reviews, and discrepancies delay project closeout.
Document baseline conditions with detailed photography and written reports noting any minor imperfections, staining, or areas requiring monitoring. This record protects against future disputes and establishes performance benchmarks. Work with professional stone installers to create a maintenance manual specifying cleaning methods, sealing schedules, and inspection intervals tailored to your specific stone types and urban exposure conditions.
Frequently Asked Questions About Urban Stone Landscape Design
Designing urban landscapes with natural stone raises practical questions about costs, durability, and implementation. Here are answers to the most common concerns from municipal planners, landscape architects, and property managers working on urban stone projects.
What’s the typical cost range for urban stone landscape projects?
Urban natural stone installations typically range from $15 to $60 per square foot for materials and installation, depending on stone type, complexity, and site conditions. Premium materials like granite pavers in high-traffic plazas run higher, while simpler limestone edging or sandstone accents fall at the lower end.
How often does urban stone paving require maintenance?
Well-installed urban stone landscapes need basic cleaning twice yearly and resealing every 3-5 years depending on stone type and traffic levels. Regular inspections should address joint stability, drainage function, and potential trip hazards before they become safety issues.
Which stones perform best in freeze-thaw climates?
Dense, low-porosity stones like granite and certain basalts handle freeze-thaw cycles most reliably because they absorb minimal water that could expand when frozen. Avoid highly porous limestone or sandstone in regions experiencing frequent freezing unless they’re properly treated and installed with excellent drainage.
What permits and approvals do urban stone projects require?
Most urban installations need building permits, right-of-way permits for public spaces, and approval from planning or design review boards. Coordinate early with municipal authorities to address ADA compliance, stormwater management requirements, and any historic district guidelines that may apply.
Beyond these fundamentals, sustainability questions come up frequently. Natural stone earns points toward LEED and SITES certifications through its durability, low embodied energy compared to manufactured alternatives, and contribution to urban heat island reduction when using lighter-colored varieties. Locally sourced stone further reduces transportation impacts while supporting regional economies.
Timeline concerns vary by project scale. A small plaza renovation might take 8-12 weeks from design through installation, while comprehensive streetscape transformations spanning multiple blocks can extend 6-18 months. Weather restrictions, permitting delays, and coordination with other municipal infrastructure work often add time to initial estimates.
Working with the right team matters enormously. Engage contractors experienced specifically in urban stone installation, not just residential hardscaping, because public space requirements for accessibility, drainage, and durability differ significantly. Request references from similar municipal or commercial projects, verify proper licensing and insurance, and ensure they understand local codes before signing contracts.
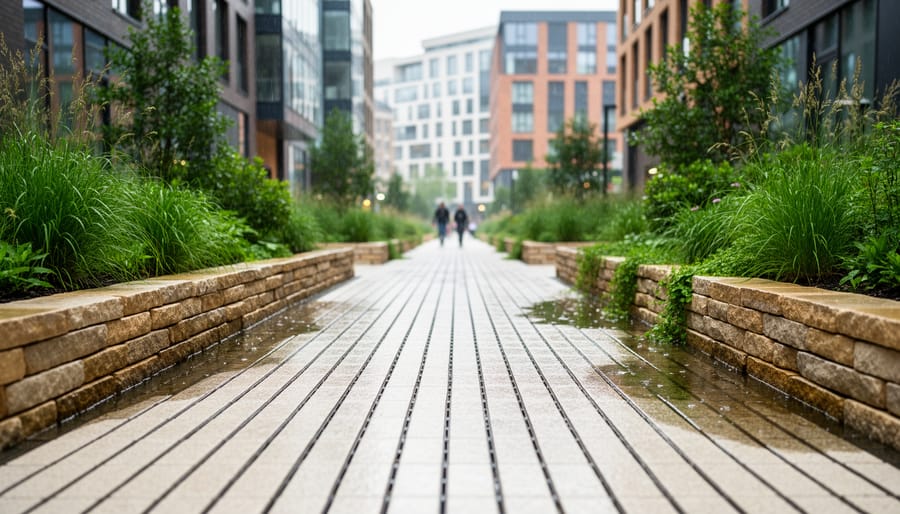
Natural stone elevates urban landscapes from functional spaces into enduring public assets that serve communities for generations. When you thoughtfully select materials matched to your site’s specific conditions, follow proper installation protocols, and commit to systematic maintenance, you create environments that actually improve with age rather than deteriorate.
The investment in natural stone pays dividends beyond initial aesthetics. These materials withstand decades of heavy use, extreme weather, and constant exposure while maintaining their structural integrity and visual appeal. Cities worldwide have proven this durability, granite plazas installed in the 1800s still function beautifully today, requiring minimal intervention beyond routine cleaning.
Working with experienced landscape architects, stone suppliers, and installation contractors ensures your project meets technical requirements while achieving your design vision. These professionals navigate the complexities of municipal codes, accessibility standards, and substrate engineering that determine long-term success. Their expertise prevents costly mistakes and accelerates approval processes.
Establish a maintenance schedule from day one. Regular cleaning, periodic resealing, and prompt repairs protect your investment and keep public spaces safe and inviting. The minimal upkeep natural stone requires, especially compared to alternatives, makes it remarkably cost-effective over its lifespan.
Start your urban stone landscape project with clear goals, thorough planning, and the right team. The spaces you create will enhance daily urban life while building lasting community value.