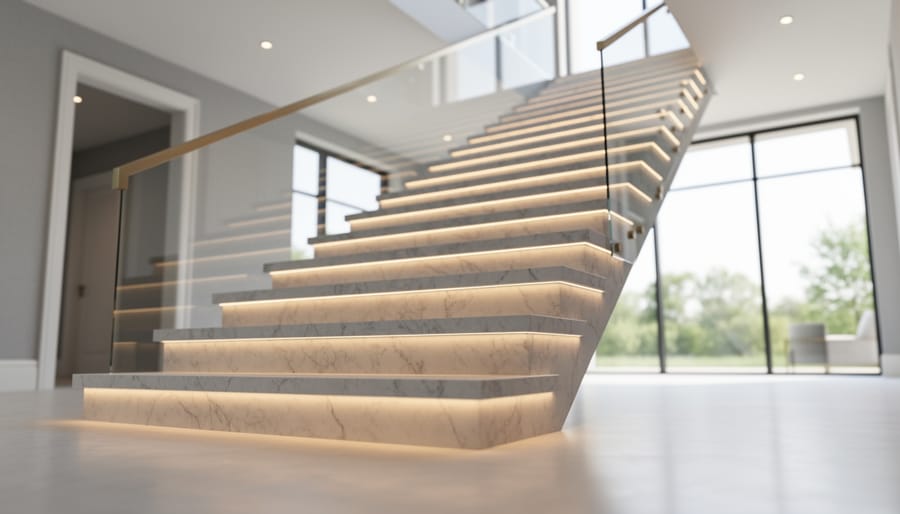
Installing a quartz staircase transforms ordinary vertical circulation into a luminous architectural statement, combining the durability of engineered stone with design flexibility that natural materials alone can’t match. Unlike traditional marble or granite stairs that require quarrying single slabs large enough to span each tread, quartz staircases use manufactured slabs that deliver consistent color, pattern, and thickness across every step, eliminating the variability that complicates installation and long-term maintenance.
The process requires precision templating, professional-grade adhesives, and mechanical anchoring systems that distribute weight across structural supports rather than relying solely on bonding strength. Most residential installations take three to five days from demolition to completion, though complex curved designs or multi-story runs extend timelines considerably. The technical challenge isn’t working with quartz itself, which machines and polishes more predictably than natural stone, but rather ensuring the substrate can support approximately 18 to 22 pounds per square foot of finished material plus live loads.
Quartz brings specific advantages to staircase applications. Its non-porous surface resists staining from tracked-in dirt and spills, a practical consideration for high-traffic vertical transitions. The material’s inherent quartz light effects create visual depth that changes with natural and artificial lighting throughout the day, adding dynamic interest to what might otherwise be purely functional space.
This guide walks through the complete installation sequence, from structural assessment and material selection through final sealing and quality verification, with particular attention to safety protocols and the decision points where professional expertise becomes essential rather than optional.
Planning Your Quartz Staircase Design
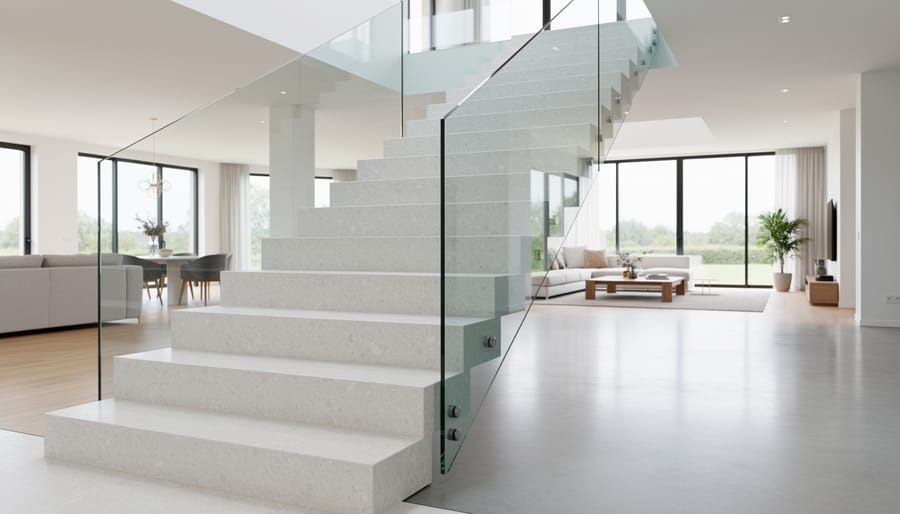
Selecting the Right Quartz Material
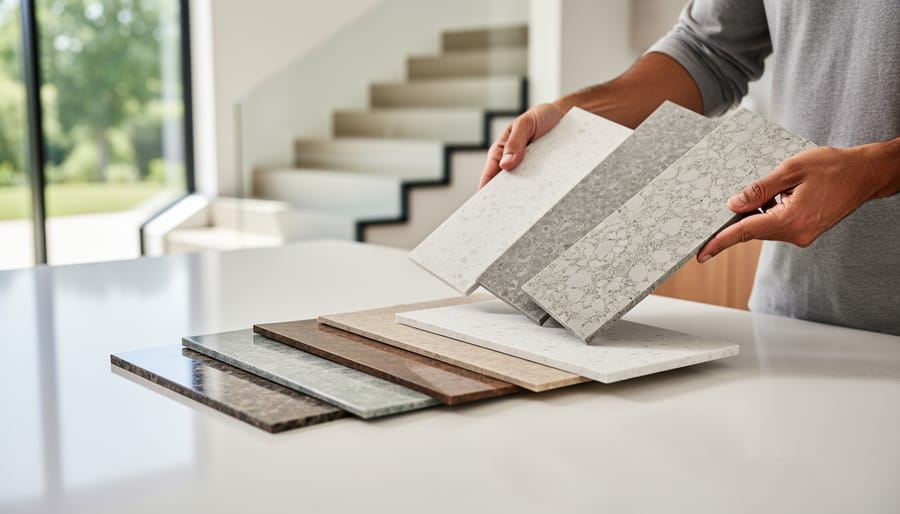
Choosing the right quartz material for your staircase requires balancing aesthetic preferences with practical performance needs. Your first decision is between engineered quartz and natural quartzite, two distinct materials often confused due to similar names.
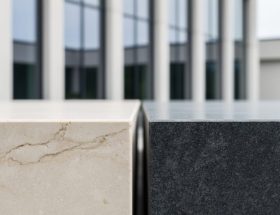
Engineered quartz consists of crushed natural quartz bound with polymer resins, offering unmatched color consistency across all pieces. This predictability proves invaluable when you need multiple treads to match perfectly. Natural quartzite, a metamorphic stone, displays organic veining and variation that creates a more dramatic, one-of-a-kind appearance. While beautiful, quartzite requires careful slab selection to ensure tread-to-tread cohesion throughout your staircase.
Surface finish directly impacts both aesthetics and safety. Polished quartz delivers a glossy, reflective surface that highlights the stone’s depth and color but can become slippery when wet, a serious concern for high-traffic stairs. Honed finishes provide a matte appearance with better traction, making them the preferred choice for most residential staircases. Leathered finishes add subtle texture through light brushing, offering an attractive middle ground with enhanced grip while maintaining visual sophistication.
For stair applications specifically, slip resistance should drive your finish selection. Request manufacturer test data showing a dynamic coefficient of friction above 0.42 for safety. Many homeowners choose polished quartz for risers where appearance matters most, then specify honed or leathered treads where foot contact occurs.
Consider maintenance requirements too. Engineered quartz resists staining without sealing, while natural quartzite typically needs periodic sealer application to maintain its protective barrier. Factor this ongoing commitment into your material choice, especially for heavily used staircases where spills are inevitable.
Structural Assessment and Code Compliance
Before installing quartz treads and risers, you must confirm your staircase can handle the added weight. Engineered quartz weighs 140 to 160 pounds per cubic foot, while natural quartzite ranges from 160 to 175 pounds. A standard tread measuring 36 inches wide by 11 inches deep by 1.25 inches thick adds roughly 50 to 65 pounds per step. Multiply that across an entire staircase, and you’re looking at several hundred pounds of new load.
Start by examining the stringer construction. Wood stringers should be solid, showing no rot, cracks, or deflection when you apply pressure. If your existing stairs bounce or creak significantly under normal use, they won’t safely support stone. Concrete stairs typically handle quartz without issue, but check for structural cracks or spalling that might indicate weakness.
Local building codes dictate precise specifications. Most jurisdictions require riser heights between 4 and 7.75 inches, with maximum variation of 0.375 inches between any two risers in a flight. Tread depth typically must measure at least 10 inches, excluding nosing. Headroom clearance usually needs 6 feet 8 inches minimum. Verify your local amendments, as coastal and seismic zones often impose stricter requirements.
Hire a structural engineer when installing quartz on second-floor staircases, wooden structures over 15 years old, or flights longer than 12 steps. An engineer calculates load capacity, recommends reinforcement if needed, and provides stamped drawings that satisfy building inspectors. This consultation costs $300 to $800 but prevents catastrophic failures.
Tools, Materials, and Preparation
Before you begin cutting and fitting quartz pieces, you’ll need to gather a comprehensive set of specialized tools and materials. Quartz installation differs from standard flooring work because you’re dealing with heavy stone slabs, precise vertical and horizontal alignment, and cuts that must be clean enough to remain visible in high-traffic areas.
Essential Equipment and Materials
The installation process requires both standard construction tools and specialized stone-working equipment:
- Cutting tools: Wet saw with diamond blade rated for engineered stone, angle grinder with diamond cutting disc, variable-speed polisher
- Safety equipment: NIOSH-approved respirator with P100 filters, safety glasses with side shields, hearing protection, cut-resistant gloves, knee pads
- Installation tools: 4-foot and 2-foot levels, laser level, rubber mallet, notched trowel (1/4-inch V-notch), caulking gun, tape measure, carpenter’s square
- Adhesives and bonding agents: Two-part epoxy adhesive rated for stone (minimum 3,000 PSI), construction adhesive for substrate bonding, thinset mortar for leveling
- Sealants and finishing materials: Color-matched epoxy or polyester resin for seams, penetrating sealer (for natural quartz), edge polishing pads in grits 50-3000
- Support and template materials: 1/4-inch plywood or heavy cardboard for templates, wooden shims in varying thicknesses, temporary bracing lumber, painter’s tape
Beyond the core tools, you’ll need adequate workspace near the staircase for cutting and finishing. Set up the wet saw outdoors or in a well-ventilated garage with water drainage, since quartz cutting produces substantial slurry. Arrange a stable work surface at waist height for edge polishing and seam preparation.
Check that your construction adhesive and epoxy are compatible with quartz. Some cheaper adhesives don’t cure properly against non-porous engineered quartz surfaces, leading to bond failure months after installation. Verify compatibility on the product label or with the manufacturer’s technical support before purchasing.
Safety Precautions and Risk Mitigation
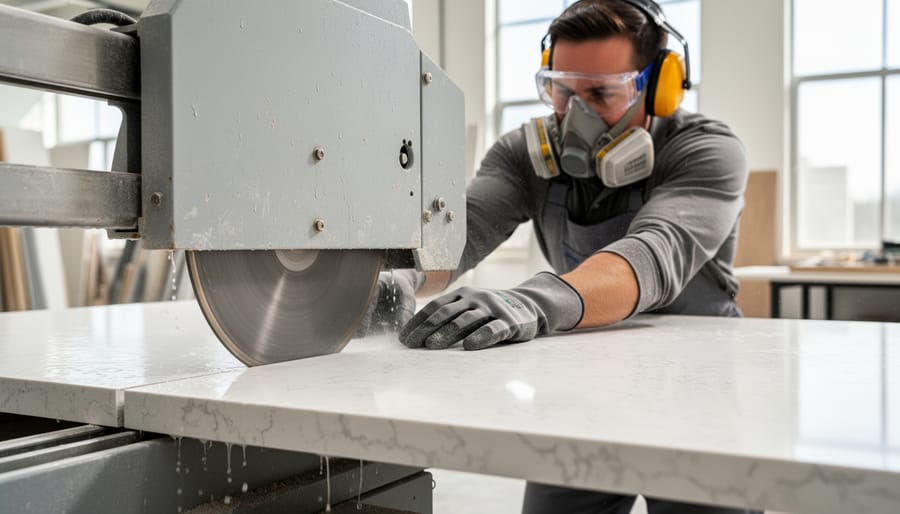
Working with quartz slabs requires strict adherence to safety protocols to prevent injury and material damage. Quartz is both heavy and brittle, making it unforgiving of careless handling or inadequate preparation.
Before cutting any quartz, set up proper respiratory protection. Cutting releases crystalline silica dust, which poses serious lung health risks with repeated exposure. Wear a NIOSH-approved N95 or higher respirator rated for silica dust, not just a basic dust mask. Work outdoors or in a well-ventilated area, and if cutting indoors, use wet-cutting methods and run exhaust fans to minimize airborne particles.
Eye protection is non-negotiable. Flying quartz chips can cause severe eye injuries. Use safety glasses with side shields at minimum, or a full face shield when cutting or grinding. Keep extra pairs on hand for helpers.
Use proper lifting mechanics for all quartz handling. Bend at the knees, not the waist, and keep the slab close to your body. Never attempt to catch a falling piece; quartz edges are sharp and can cause deep cuts. Wear heavy-duty work gloves with good grip, and consider forearm protection when carrying large slabs.
Handle quartz with care to prevent chipping and cracking. Support the entire slab when moving it, never carry by one end. Avoid setting pieces directly on concrete; use padded sawhorses or foam blocks. Don’t drag slabs across surfaces, and keep edges away from hard impacts.
Clear your workspace of trip hazards before carrying heavy pieces. Secure loose cords, remove debris, and establish clear pathways from cutting area to installation site. Keep children and pets away from the work zone throughout the project.
Step-by-Step Quartz Staircase Installation Process
Step 1: Prepare the Existing Staircase Surface
Start by removing all existing stair coverings, carpet, tile, or old treads. Use a pry bar and hammer for stubborn materials, taking care not to damage the underlying structure. Sweep away debris, then vacuum thoroughly to eliminate dust that could compromise adhesive bond.
Inspect each tread and riser for structural soundness. Replace any damaged wood with plywood of matching thickness. Check for squeaks or movement; secure loose boards with construction screws driven into stringers. The substrate must be completely rigid before proceeding.
Next, assess flatness using a 4-foot straightedge. Quartz requires substrate variation no greater than 1/8 inch over 10 feet. Mark high spots with pencil and grind them down using a concrete grinder or belt sander. For low areas or voids, apply floor-leveling compound, feathering edges to create smooth transitions. Allow compound to cure per manufacturer specifications, typically 24 hours.
Clean the prepared surface again with a damp cloth, removing all dust from grinding or sanding. Let dry completely. Apply a primer compatible with your chosen adhesive system. Acrylic primers work well for most quartz installations and improve adhesive grab on porous surfaces.
This preparation phase determines your installation’s long-term success. Rushing creates problems that no amount of careful stone placement can fix.
Step 2: Create Templates and Cut Quartz Pieces
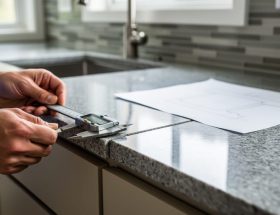
Creating precise templates is the foundation of a professional quartz staircase installation. Even minor measurement errors become glaringly obvious when the stone is in place, so this step demands careful attention.
Start by making templates from sturdy cardboard or thin plywood for each unique tread and riser. Number them clearly to match their positions. For treads, capture the exact depth from riser to nosing, accounting for the desired overhang (typically 1 to 1.5 inches). Mark any irregularities in wall angles or corners. If you’re working with curved or winding stairs, create separate templates for each step rather than assuming they’re identical.
Transfer your templates to the quartz slabs using a fine-tip marker or scribe tool. Arrange pieces to minimize waste and maintain consistent grain direction if you’re using natural quartz with veining. Leave at least a quarter-inch between cutting lines for blade width.
Cut quartz using a wet saw with a diamond blade rated for engineered or natural stone. Work slowly and steadily to prevent chipping, keeping water flowing continuously to control dust and cool the blade. For inside corners or notches, drill relief holes before making straight cuts to prevent stress fractures.
After cutting, smooth all edges with progressively finer diamond polishing pads (start at 50-grit, finish at 400-grit minimum). Pre-polished edges look seamless once installed and eliminate sharp surfaces that could chip during handling or installation.
Step 3: Install Risers
Start at the bottom riser and work your way up. Apply a high-quality construction adhesive formulated for stone in vertical beads spaced 4-6 inches apart across the back of the riser piece, staying about an inch from all edges to prevent squeeze-out. For added security on tall risers, add horizontal beads at the top and bottom.
Press the riser firmly against the vertical surface, using slight twisting motions to ensure full contact with the adhesive. Check plumb immediately with a spirit level placed against the face, the riser must be perfectly vertical in both directions. Even a half-degree tilt compounds across multiple steps and creates noticeable misalignment.
Secure the riser temporarily with adjustable braces or props extending from the riser face to the floor or opposite wall. Wood shims placed at the base can fine-tune vertical alignment. Some installers prefer painter’s tape or clamps for lightweight risers, but mechanical bracing prevents slippage on heavier pieces.
Don’t remove bracing until the adhesive manufacturer’s recommended cure time passes, typically 24 to 48 hours depending on temperature and humidity. Premature removal risks the riser sliding out of position under its own weight. Check alignment again before removing supports; if the riser has shifted, reset it immediately before the adhesive fully hardens.
Step 4: Install Treads and Nosings
With risers secured and fully cured, you’re ready to install the treads, the horizontal surfaces that bear foot traffic and define the staircase’s functionality.
Begin by dry-fitting each tread piece to verify fit and overhang. The nosing (front edge) should extend 3/4 inch to 1-1/4 inches beyond the riser face, depending on your design and local code requirements. Check that side-to-side reveals remain consistent if your treads don’t span the full width.
Apply a serpentine bead of construction adhesive rated for stone across the entire contact surface, include the top edge of the riser and any structural supports beneath the tread. Work quickly, as most adhesives begin to skin over within 10 minutes.
Lower the tread into position, starting at the back edge and working forward to avoid trapping air pockets. Use a carpenter’s level to check both front-to-back and side-to-side orientation. Insert plastic shims beneath the tread as needed to achieve perfect level, never rely on adhesive alone to fill gaps larger than 1/8 inch.
Press firmly along the entire surface to ensure full adhesive contact, then weight the tread with sandbags or concrete blocks for 24 hours. Avoid walking on newly installed treads until adhesive reaches full cure strength, typically 48 to 72 hours depending on ambient temperature and humidity.
Repeat this process for each tread, working from bottom to top to avoid standing on uncured installations.
Step 5: Seal Joints and Apply Finish
After the treads cure for 24 hours, focus on finishing touches that protect your investment and create a seamless appearance. Start by inspecting all joints between treads, risers, and walls for gaps.
For seams between quartz pieces, use a two-part epoxy mixed with color-matched pigment or quartz dust from your cuts. Apply the epoxy with a putty knife, slightly overfilling the joint, then scrape flush once it begins to set. This creates an almost invisible seam that maintains structural integrity. For perimeter joints along walls, use a flexible, color-matched silicone caulk instead, quartz expands and contracts slightly with temperature changes, and rigid epoxy at these points can crack.
Polish any cut edges with progressively finer diamond pads (400, 800, then 1500 grit) until they match the factory finish. Wipe away dust between each grit level.
Engineered quartz typically doesn’t require sealing due to its non-porous nature. Natural quartz varieties may benefit from a penetrating sealer, test a small area first. If your design includes metal or wood edge trim, install it now using manufacturer-recommended fasteners, ensuring you don’t over-tighten and crack the stone.
Quality Verification and Final Inspection
Once the final sealer cures, a thorough verification process confirms your quartz staircase meets both safety and aesthetic standards. This systematic inspection catches any issues before the installation is considered complete.
Start with a 4-foot spirit level placed across each tread. The bubble should center precisely, any deviation exceeding 1/16 inch over the tread’s depth indicates shimming problems that need correction. Check risers vertically with the same level to ensure they’re perfectly plumb, not leaning forward or backward.
Run your hand along every joint between treads and risers, feeling for lippage where one piece sits higher than its neighbor. Acceptable lippage for quartz is under 1/32 inch; anything more creates a trip hazard and looks unfinished. Inspect seams in bright, angled light to spot gaps that weren’t visible during installation, these need filling before they collect dirt.
Your complete inspection checklist should cover these points:
- Each tread perfectly level with no more than 1/16 inch variance
- Risers plumb and perpendicular to treads
- Nosing overhang uniform at specified dimension (typically 1 to 1.25 inches) across all steps
- All pieces firmly bonded with no movement when pressed
- No hollow sounds when walking the full length of each tread
The walk test reveals what measurements can’t. Slowly climb and descend the staircase, listening for hollow thumps that signal voids beneath the quartz where adhesive didn’t make contact. Press down firmly on nosing edges and tread centers, solid installation feels rock-stable with zero flex. Any movement or unusual sounds require pulling that piece and reapplying adhesive to the substrate. This verification step prevents callbacks and ensures your quartz staircase will perform flawlessly for decades.
Post-Installation Care and Maintenance
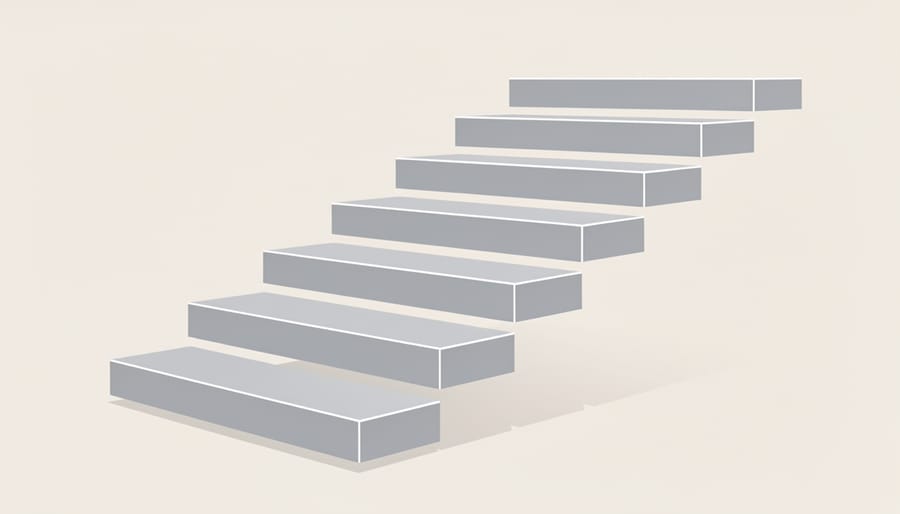
Your quartz staircase needs 72 hours of undisturbed curing before regular foot traffic. During this period, avoid walking on the treads and keep pets and children away from the installation. The adhesive continues to strengthen throughout this time, and premature loading can shift pieces or compromise bonds.
After the curing period, establish a simple cleaning routine using pH-neutral stone cleaners or mild dish soap mixed with warm water. Never use acidic cleaners like vinegar or lemon-based products, as they can etch the surface over time. For daily maintenance, a microfiber mop or soft cloth removes dust and light debris without scratching. Wipe up spills immediately to prevent staining, though quartz resists most common household substances better than natural stone.
Most engineered quartz requires no sealing because its resin binder makes it non-porous. Natural quartz varieties may benefit from penetrating sealer applied annually, particularly on stairs that see heavy traffic or exposure to moisture. Test water absorption by placing a few drops on the surface, if they bead up, sealing isn’t necessary. If they absorb within a few minutes, apply a quality penetrating sealer according to manufacturer instructions.
Protect tread edges from impact by using furniture pads on any items placed near the stairs. Grit and sand act as abrasives, so place walk-off mats at entry points to reduce tracked-in debris. Periodically inspect joints and seams for any separation or cracking, addressing issues promptly to prevent moisture infiltration.
For homes with design elements like illuminated countertops consider matching your quartz staircase maintenance schedule with other stone features to streamline care routines and ensure consistent appearance throughout your space.
Common Installation Challenges and Solutions
Even careful installers face predictable obstacles when fitting quartz stairs. Recognizing these challenges early lets you address them before they compromise the finished staircase.
Uneven or Out-of-Level Substrate
Quartz slabs won’t compensate for irregularities in the underlying structure. If your substrate varies more than 1/8 inch across any tread area, the stone will rock or create lippage where pieces meet. Before bonding anything, use a long straightedge to check each step surface. Grind down high spots with a concrete grinder or build up low areas with self-leveling underlayment. This prep work takes time but prevents visible gaps and structural instability later.
Achieving Invisible Seams
On wider staircases requiring multiple quartz pieces per tread, seams become visible if cuts aren’t perfectly straight or if you don’t match the stone pattern. Cut all pieces at once from adjacent sections of the same slab to maintain color continuity. Use a bridge saw rather than handheld tools for the straightest edges. When setting pieces, apply even pressure across the entire seam and use color-matched epoxy that exactly mirrors the quartz hue, generic fillers create dark lines that stand out.
Curved and Winding Staircase Geometry
Curved stairs demand custom-cut wedge-shaped treads that taper from the inside radius to the outside. Make cardboard templates for each unique step before cutting expensive stone. Number every template and its corresponding quartz piece to avoid confusion during installation. Radius nosing requires specialized grinding equipment; for complex curves, contracting this work to a fabrication shop often produces cleaner results than field-forming the edge.
Expansion Gaps in Temperature-Variable Spaces
Though engineered quartz has low thermal expansion, stairs in sunrooms or near exterior doors experience temperature swings. Leave 1/8-inch gaps where treads meet walls, then fill with color-matched flexible silicone rather than rigid epoxy. This prevents cracking if seasonal expansion occurs. The same principle applies to natural stone care in other high-traffic installations, accommodating minor material movement preserves long-term integrity.
Frequently Asked Questions
How long does a typical quartz staircase installation take?
A straightforward installation on a standard staircase typically requires three to five days, including surface preparation, template creation, cutting, installation, and cure time. Complex projects with curved designs or spiral staircases may extend to seven to ten days.
Can I install a quartz staircase myself?
DIY installation is not recommended unless you have extensive experience working with heavy stone materials and specialized cutting equipment. The weight of quartz slabs, precision required for proper fit, and safety risks make this a job best left to professionals with stone installation expertise.
How much does a quartz staircase cost compared to other natural stones?
Engineered quartz typically costs between $80 and $150 per square foot installed, positioning it in the mid-to-high range alongside granite. Natural quartz falls on the higher end, while marble and limestone may be comparable or slightly more expensive depending on rarity and origin.
Is quartz more durable than granite or marble for staircases?
Engineered quartz offers superior scratch and stain resistance compared to marble and matches granite’s durability while requiring less maintenance. Natural quartz performs similarly to granite in hardness but typically shows better resistance to etching from acidic substances than marble does.
Can quartz be installed over existing stairs, or does it require new construction?
Quartz can be retrofitted over existing staircases if the structure is sound and can support the additional weight. However, you’ll need to account for the thickness of the quartz when calculating headroom clearance and ensure the substrate is level and properly reinforced before installation begins.
Does quartz require sealing like other natural stones?
Engineered quartz is non-porous and does not require sealing, making it virtually maintenance-free beyond regular cleaning. Natural quartz may benefit from occasional sealing depending on porosity, though it generally needs less frequent treatment than marble or limestone.
Understanding these practical considerations helps you set realistic expectations for your quartz staircase project. The decision between DIY and professional installation often comes down to safety and precision rather than just cost savings. While the upfront investment may seem substantial, quartz’s combination of durability and low maintenance requirements typically delivers better long-term value than softer stones that need frequent resealing or show wear more readily in high-traffic areas like staircases.
Installing a quartz staircase represents a significant upgrade to your home, combining exceptional durability with striking visual appeal. Throughout this guide, we’ve walked through the five essential phases, from initial planning and material selection through final quality verification. Each step builds on the last, creating a cohesive installation that will serve your home for decades.
The key to success lies in thorough preparation. Accurate measurements, proper substrate assessment, and code compliance aren’t optional preliminaries, they’re the foundation that prevents costly mistakes and ensures safety. Cutting corners during planning inevitably creates problems during installation that are far more difficult and expensive to fix.
While confident DIYers can handle straightforward installations, complex projects involving curved stairs, structural modifications, or challenging layouts warrant professional expertise. Natural stone specialists bring years of experience managing the nuances of quartz installation, from achieving perfectly tight seams to ensuring proper support for these substantial slabs.
Quartz stands out among natural stone staircase options for its remarkable scratch resistance, low maintenance requirements, and consistent coloration. When installed correctly following the methods outlined here, your quartz staircase becomes a lasting architectural feature that enhances both function and beauty in your home.